Facebook does compress images, so images on Facebook always load fast. We often see the Pictures gets ugly when uploading to Facebook as Profile Picture. So I’ve discovered two of my own method to make sure Facebook won’t make your photo gruesome by compressing it. Here is how to upload a photo on Facebook as Profile picture while not losing its clarity and details.
The image used as demo is from Dribble by Kudos Design
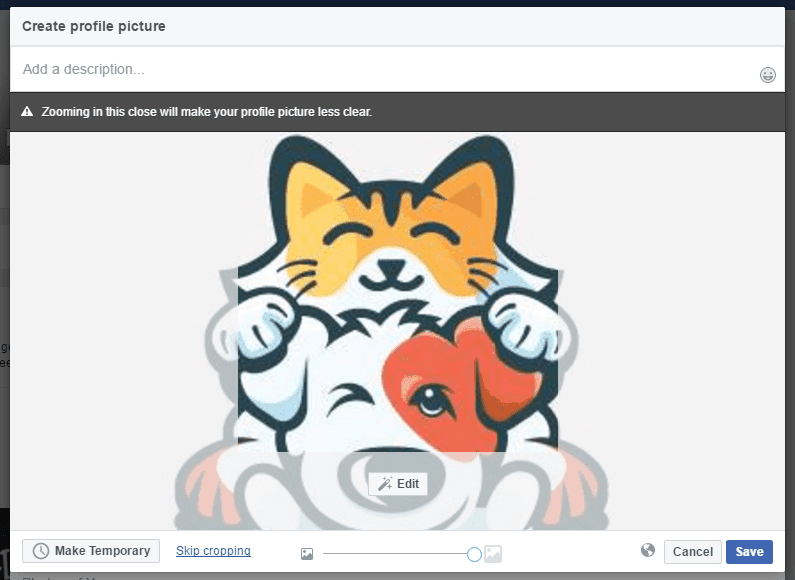
This was a typical Facebook compression when I uploaded a profile picture. This looks bad as the image gets compressed, this is often noticeable in PNG images that are made using fewer colours like this photo I used as the demo.
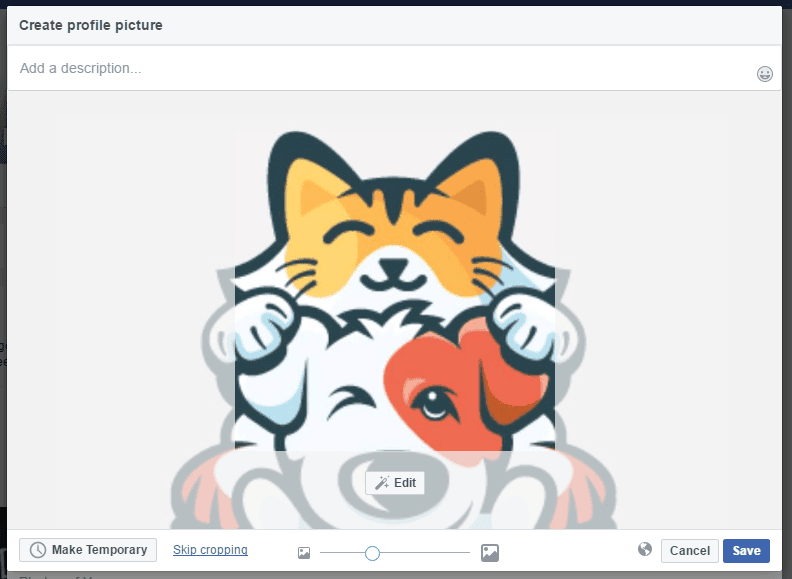
So I did something to the photo before uploading to the Facebook, and here is how it will look after a trick I used. (Photo After using the method). Is it far better? Right.
So how do I do that?
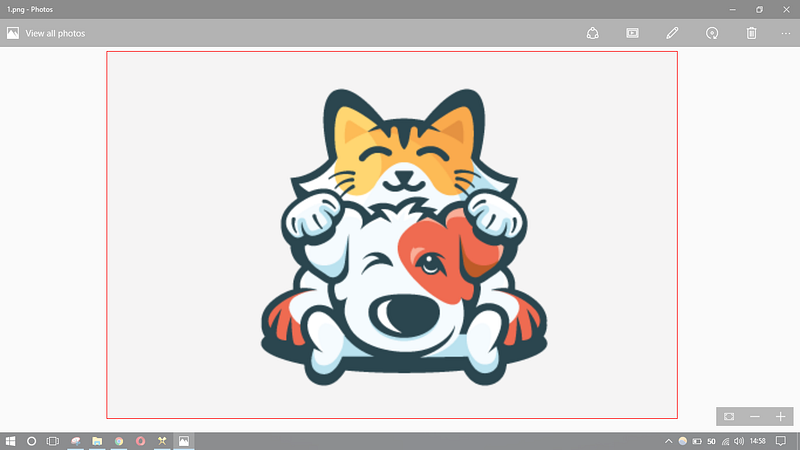
- Open Image (Which you want to put your profile picture) in Windows 10 Photo viewer and Zoom it until it fits the entire screen.
- Now press Win + Shift + S and select region for screenshot (This will copy the image to clipboard, simply paste in page in imgur.com or anywhere and save it to your computer, then upload to Facebook.
- (or) Open Snippet tool.
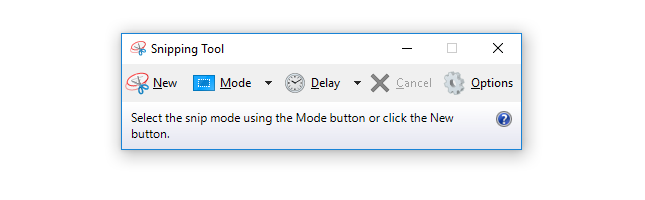
- Click on new, (set delay time for convenience) and capture the Image opened in Photos app.
(Win+Prtsc also work, but you’ll have to crop that image further).
- Save the image that you captured using snippet tool.
- Upload the photo to Facebook as Profile picture.
Use Paint.net to Disable Facebook Image Compression
It is a very simple photo editor that you can get here. In this method, we will use Paint.net application. By opening the photo, we will modulate the picture by a little bit of configuration so that it will only lose its clarity very little while uploading to Facebook.
- Open the original image un Paint.net
- From File, choose Save as.
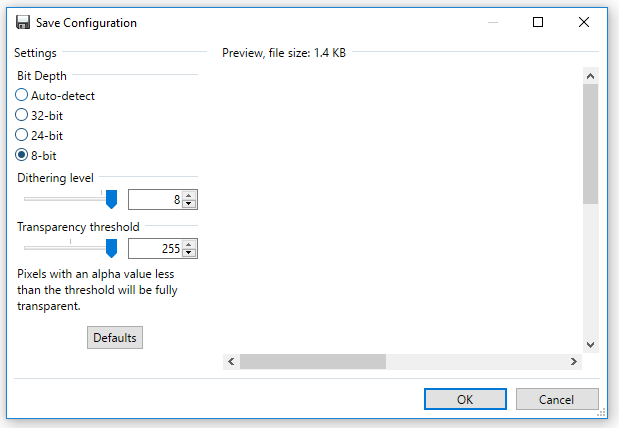
- Save it as .png file format.
- It will open the Configuration box, select 8-bit and set both Dithering level and transparency threshold to higher.
- Now upload this photo to Facebook.
Here is a comparison, left — before | right — after
It also helps your photos not to became ugly after uploading to Facebook.

I hope you liked this little tricks that will surely help you preserve details of photos you upload on Facebook as your profile pictures. Sure, these tips will also work for Covers, Album images, etc.
Let us know which tricks helped you and how much this was worth? The comment section is there for the same reason.
