
OpenSSH Client Installed by Default in Windows 10 April 2018 Update
Advertisement
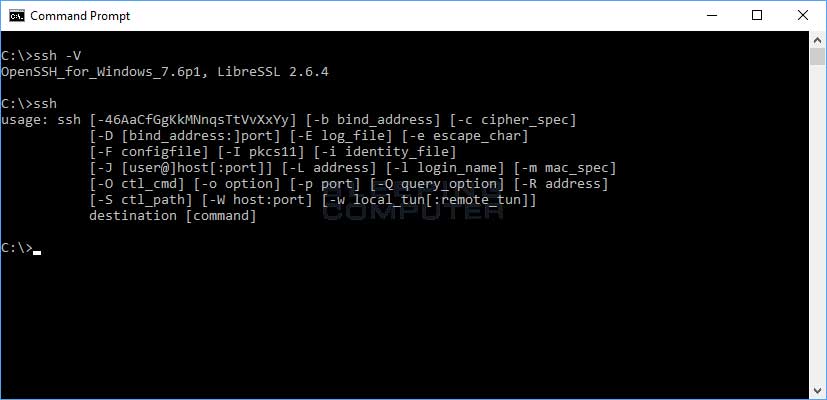
When Windows 10 release April 2018 update there is many things that are easily missed. Windows OpenSSH client is one of them. We first reported that the feature is in beta program and you had to install it manually from optional features settings. But with the April 2018 update, the OpenSSH client is now comes installed which also means that it is out from beta. On the other hand be open ssh server for Windows is also out from beta but unlike Windows OpenSSH client it needs to be installed manually.
To quickly check wheater it’s installed on your computer, go to to the following directory, if it’s present there are some files inside the folder as well. Also, you can go to Optional Features and enable it from there as well.
C:\Windows\System32\OpenSSH
All the users who are running Windows 10 version 1709 by going to optional features, Click “add an optional program” and select OpenSSH client and click on the Install button. This will install the binaries required and from now on you can launch OpenSSH from Start Menu.

However, people looking for a more simple program should use alternative, and Putty program is one of the best programs for handling all the SSH and SFTP work for you. Not all of the Windows users are going to use built-in OpenSSH program, it’s a niche tool.
(Via BleepingComputers)
