PuTTY is an open-source SSH and telnet client that is widely used. It has a dedicated installer for the Windows platform. Linux OS users can also install the software.
PuTTY can be easily installed on a Chromebook as long as it supports a Linux terminal. Chrome OS flex doesn’t support Linux Terminal at this point in time. Other Chrome OS forks may have this feature. Chrome OS flex does offer working Google Assistant which is something other forks couldn’t do. Chrome flex lacks some features including, Android and Linux support.
Important 😯: Summing up everything that has been stated so far, Chrome OS flex can be installed on a Chromebook and on regular computers. When installed on a non-Chromebook device you cannot enable Linux support on it and hence cannot install putty.
Installing PuTTY on Chrome OS Flex and Chromebooks is easy. First, you’ll need to enable Linux for your device. This can be done by going to the Chrome OS settings and selecting “Linux (Beta)” from the left-hand menu. Once Linux is enabled, you can open a terminal window by pressing Ctrl+Alt+T. Then, use the command sudo apt-get install putty to install PuTTY to your Chromebook. After the installation is complete, you can open PuTTY by typing putty into the command line.
Begin by opening the Linux Terminal on your Chromebook.
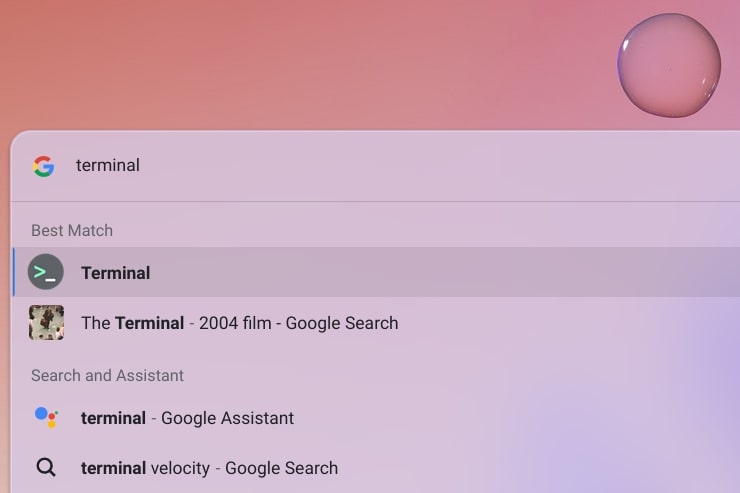
Opening the Linux Terminal, if not already set up, click on Set up. Once you have enabled Linux Support, launch Terminal Again.
2) Once you’re past that, a new window will open, it’s called Linux’s Terminal window. From here, you need to give the following command. You can copy and paste the following line to install PuTTy.
sudo apt-get install putty
Installing PuTTY
3) After giving the command, press Enter key to confirm. It might take a few seconds for the process to complete successfully.
Confirming the Install
4) You’re almost at the close now. From here on out, the download will begin by itself, and since PuTTY isn’t a sizable application, the process will take around 30 seconds at best. When you see your username again on the Terminal window right below “Processing triggers,” know that the installation has been successful. You can now check for your app in the “Linux apps” folder in your Launcher.
PuTTY Installed
That’s it! If you see the app icon the same as above, PuTTY was installed on your system. Please give it a click to see how the software works.
Putty is working now
Alternate method
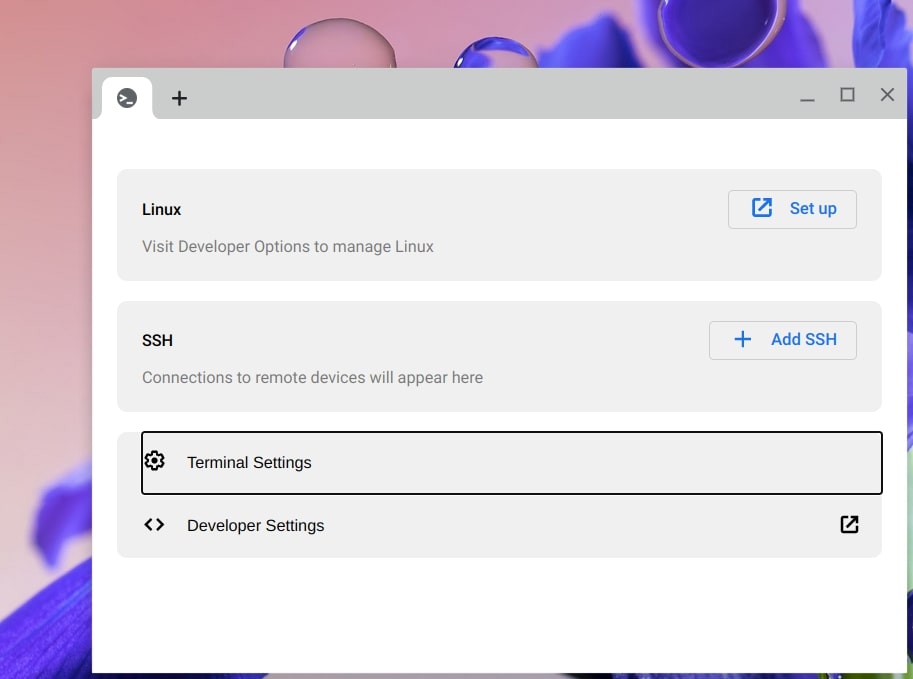
You can use the terminal app which is installed
You can use the terminal application that comes pre installed with all the Chrome OS operating systems it also works on chrome OS Flex.
Click on start button find terminal application and select it.
Now you need to click on plus button and add your sSH profile for example if you want to connect your VPS server you need to do the following stuff.
Click on Add SSH.
Enter root@IP Address
Wrapping up
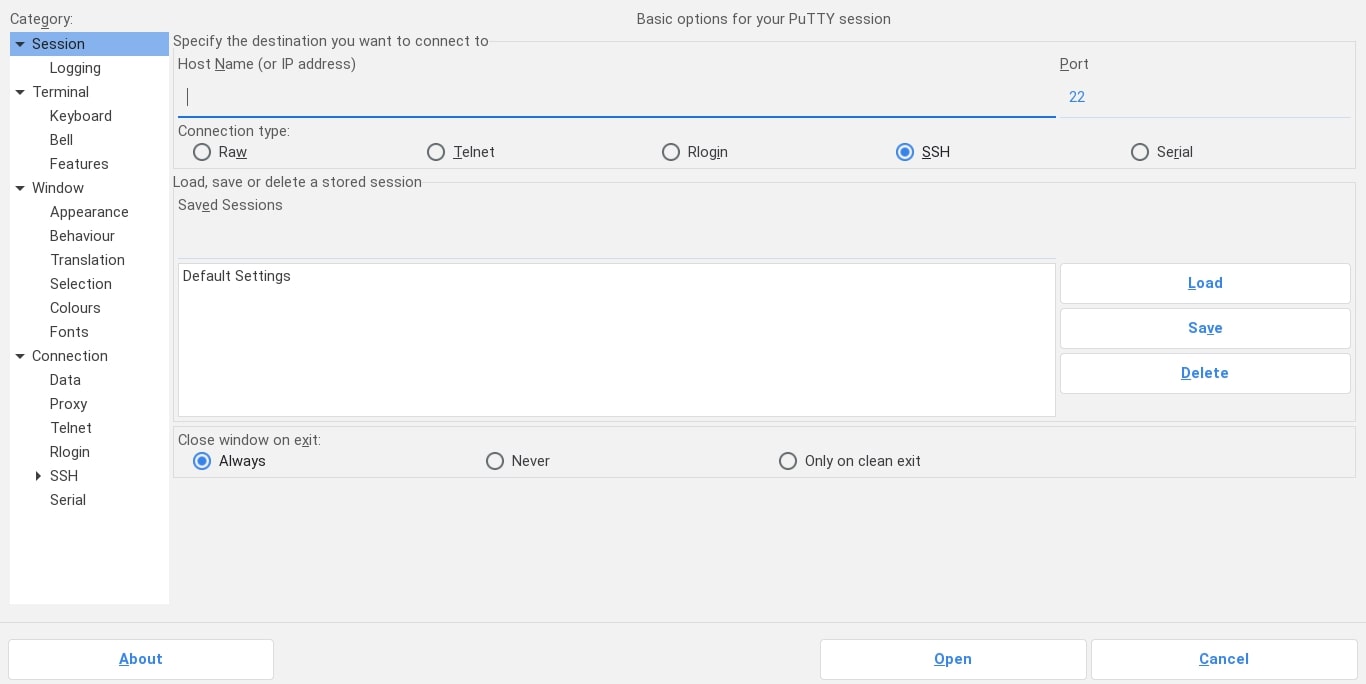
The above-given screenshot is of Putty’s main page where you can see the familiar interface. The working and functions are similar to the Windows platform app, to start with putty enter an IP address to which you want to remote login. By default the connection type is SSH but you can change it by changing the port number, 22 is the default for SSH.
Putty is a powerful tool for Chrome OS users and it enabled them to make a secure connection with their apps and servers. Basically, it eliminates the use of an SSH client, and there are plenty of reasons to use Putty on Linux, we hope you have a good experience with PuTTY.
If you look at the left column in this app’s interface, there are even more settings for you to calibrate and tinker around with. All in all, PuTTY seems like the complete package with all the features that it is packing, so be sure not to miss out on its full potential.
The Quickfever Team 💜