Android is the world’s most popular mobile operating system, and with the release of Android 14, there’s never been a better time to start developing apps for this platform. Fortunately, you don’t need to own an Android device to start building Android apps. Instead, you can use Android Studio on your Windows 11 computer to create and test your apps.
In this article, we’ll guide you through the process of installing Android 14 using Android Studio on your Windows 11 computer. We’ll cover all the essential steps, from installing the required software to creating a new Android app project. So, let’s get started.
Note: This article is a sequel to How to Install and Run Android 11 and is updated for Android 14.
1. Preparing Your Computer for Android Development
Before you can start building Android apps, you must ensure your computer is set up correctly. Here are the steps you need to follow:
A. Install Java Development Kit (JDK)
Android Studio requires Java Development Kit (JDK) to be installed on your computer. We tested this software on Windows 11 and we didn’t have to separately install JDK but in case you don’t already have JDK installed, follow these steps:
- Go to the Oracle JDK download page.
- Download the appropriate version of the JDK for your operating system.
- Install the JDK on your computer.
B. Download and Install Android Studio
The next step is downloading and installing Android Studio on your Windows 11 computer. Here’s how to do it:
- Go to the Android Studio Stable & Android Studio preview download page.
- Download both the Stable and Preview versions using the “Download Android Studio” (You need Flamingo and Hedgehog versions)
- Accept the terms and Wait for the download to complete.
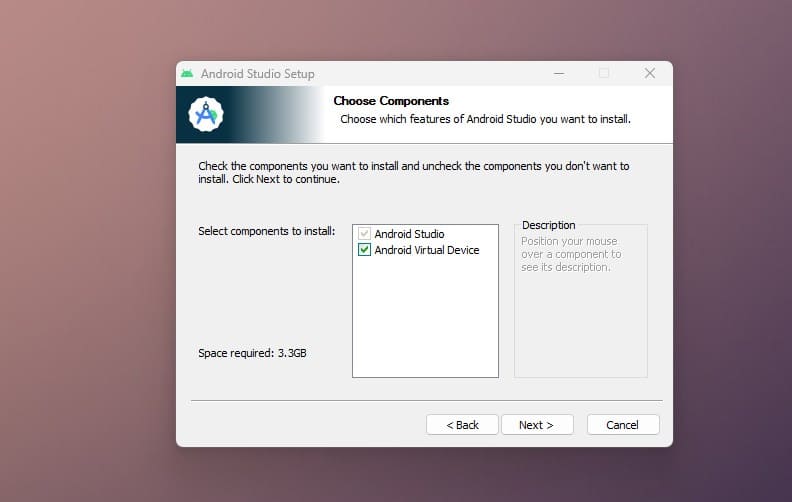
- Run the downloaded Android Studio Stable installer and follow the on-screen instructions to install Android Studio on your computer.
C. Get Beta Version of Android Studio
🟢 After you install the Stable version you need to Install the Preview alongside your stable Android Studio Version, you need to do the following.
Unzip the ZIP file.
Rename the folder for example “Android 14” and move it within the Stable installation directory,
For example, move the folder to C:\Program Files\Android\Android 14\bin\
Now open the Android 14/bin and run studio64.exe the file. Pin this file to open the preview version of the Android Studio.
2. Installing Android Studio
Now that you’ve installed the necessary software, it’s time to download and install Android 14. Here are the steps you need to follow:
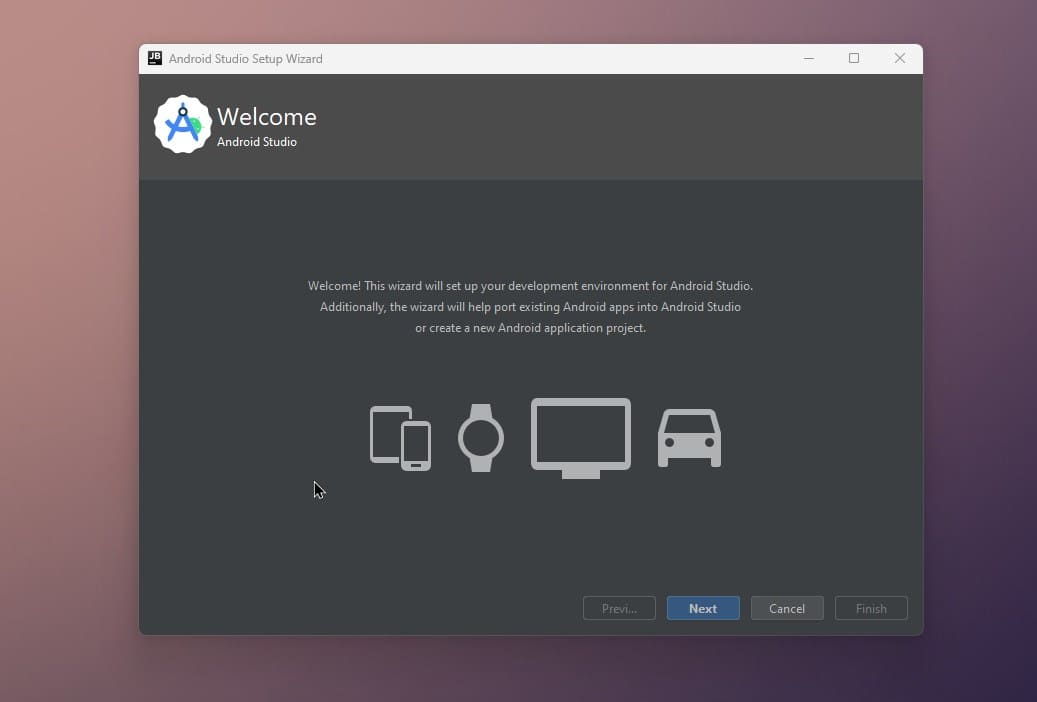
- Launch Android Studio Preview
- After installing Android Studio, launch the application from your Start menu. It will display a Welcome screen.
Click on next.
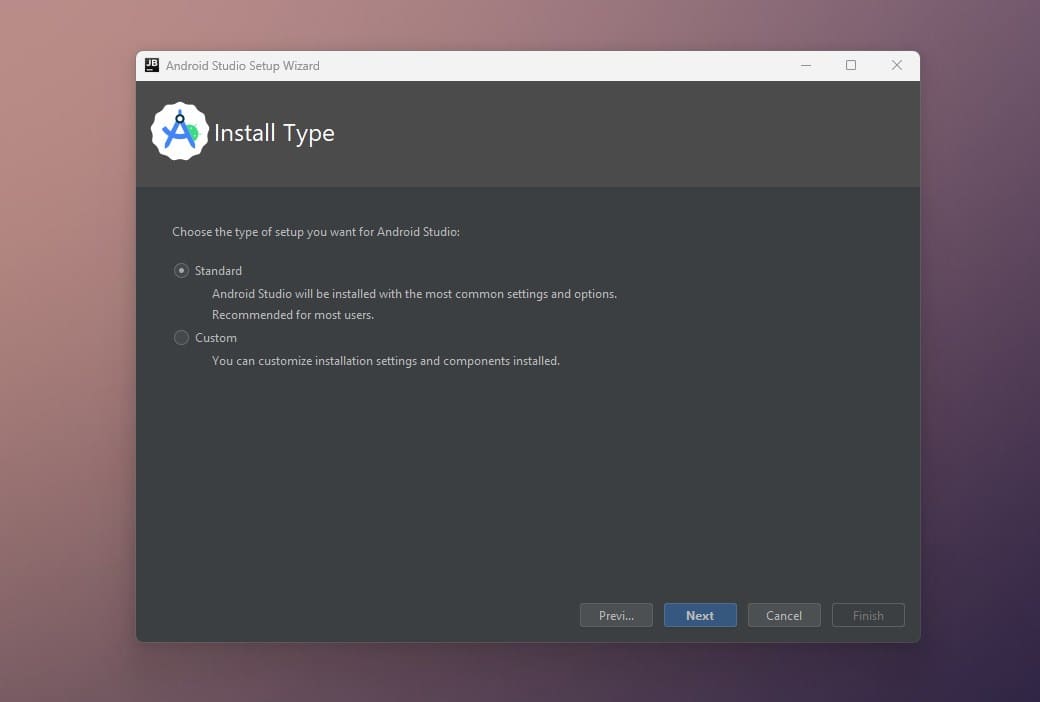
From there select standard and click next. This installs the is standard version of Android studio most common settings and options.
On the next page, it will show us the bandwidth that will be used to download all the components and the emulator.
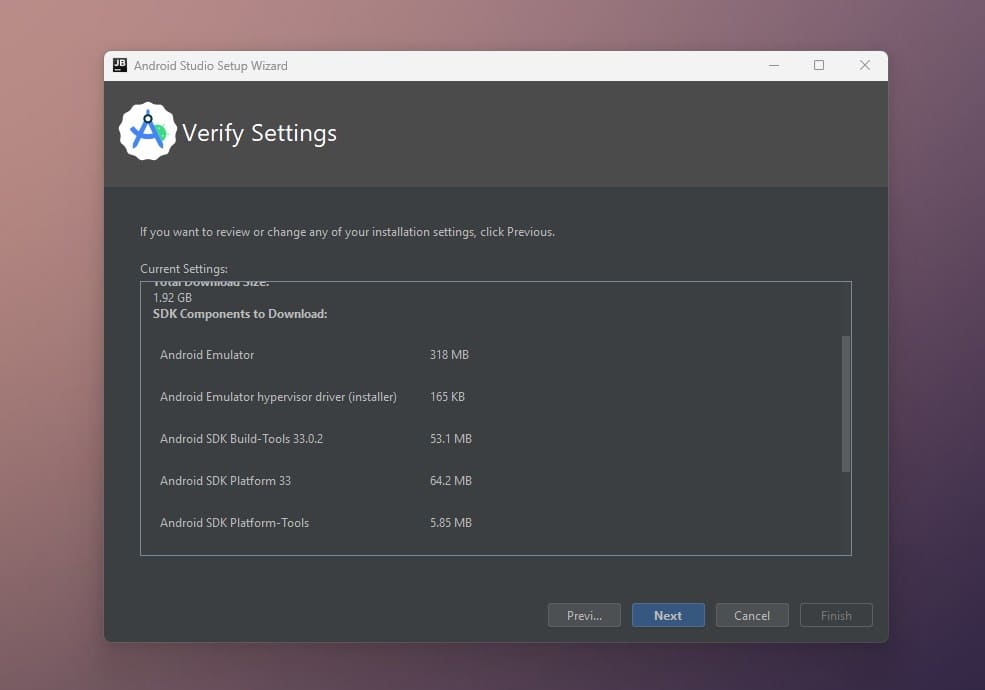
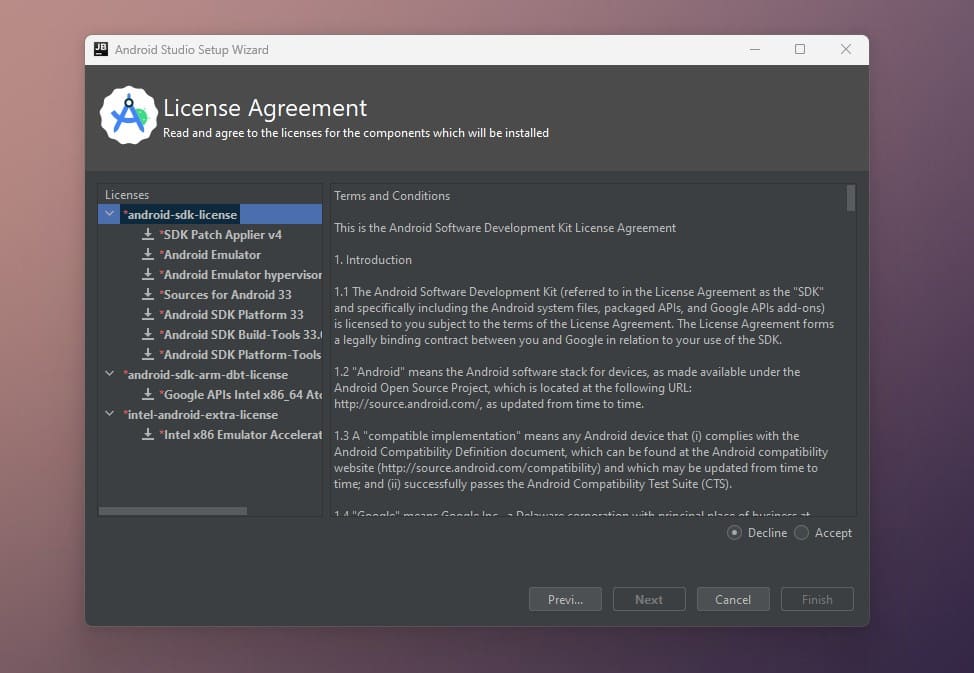
Instal the Android SDK and SDK Components, Once Android Studio has loaded, click Next, and Accept the terms of the SDK and other Licence. Select Accept for each license and Click on Next.
Once the installation is complete, you should verify that Android 14 has been installed correctly. To do this, open a new project in Android Studio, select the “Project” view, and then expand the “App” folder. You should see a folder named “libs” with a file named “android.jar”. If you see this file, you’ve successfully installed Android 14.
3. Creating an Android 14 Virtual Device
Now that you’ve installed Android 14, it’s time to create a new Virtual Device to test the Android 14 environment. Here’s how to do it:
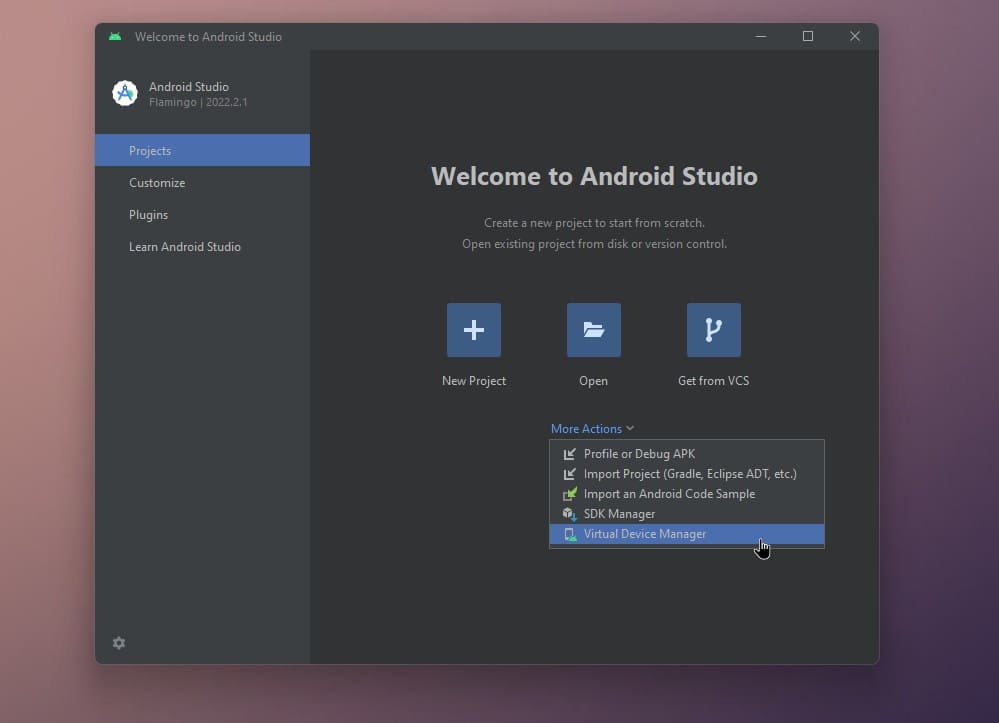
- Launch Android Studio, Launch Android Studio from your Start menu.
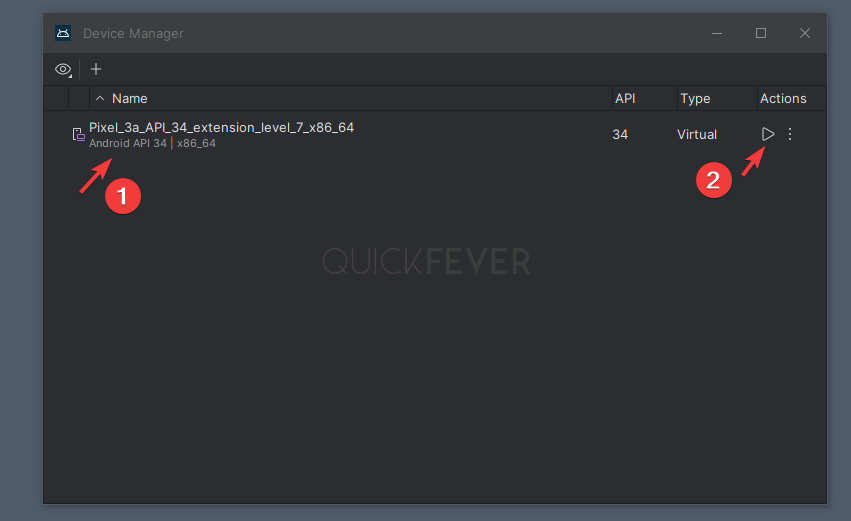
- Go to Virtual Device Manager. Click on More Actions, and select Virtual Device Manager.
In Android Studio, select “Start a new Android Studio project” from the welcome screen.
- By Default the Preview includes the latest API 34 (which is Android 14), here we just need to click on run button.
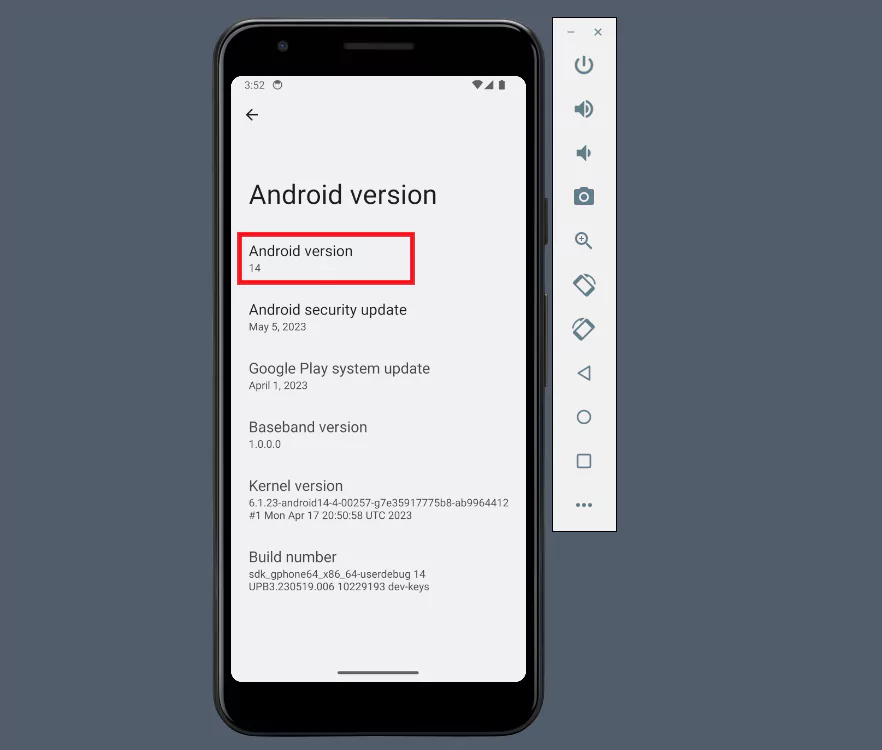
- Select A supported Pixel Device and click next and select Android 14. (Don’t get confused when you didn’t find it by the name, Android API 34 means Android 14.)
The emulator will run and you can check the Android version from Settings > Emulator about. Happy Android 14 🤘