Create Chrome OS Flex Bootable USB on Windows & Linux

Advertisement
Google Chrome OS Flex is stable. It has been a while since Google released Google Chrome OS Flex to the public, and I have been using it for some time now. However, one thing that Google made complicated is their unclear instructions on how to download the Chrome OS Flex system image. We already have a separate article that provides you with direct download links to the Google Chrome OS Flex system image. (The system image is in the dot pin format, unlike ISO). So today in this article, we will learn how you can create a Chrome OS Flex USB installer to quickly boot or install Chrome OS Flex on any laptop or computer.
Things you’ll need to get started
- 1 x 8GB USB drive
- BIOS Access on the computer you’re installing on
Download Chrome OS Flex System image
A. Download the latest version
Google started giving out the system image link on their support page (Extracted ChromeOS Flex installer image), the version is a little older than the one we posted for our readers.
B. Download from Google
For users who are comfortable with creating bootable USB drives using dd command-line utility or other third-party utilities.
- Start by getting the latest ChromeOS Flex installer image on your device. ChromeOS Flex installer image. Make sure you download it from a trustworthy source.
- Next, plug your USB drive into your device, making sure there are no other removable devices connected. This will be the drive where you’ll create the installer.
On Linux follow the given instructions, the Windows tutorial is given after that.
Make Chrome OS Flex Bootable USB on Linux
- Open a terminal or command line interface.
- Use the following command to write the image onto the USB drive: sudo dd if=image_name.bin of=/dev/sdN bs=4M status=progress
Remember to replace “image_name.bin” with the actual name of the installer file you downloaded, and “sdN” with the correct designation for your USB drive.
Example.
sudo dd if=~/Downloads/chromeos.bin of=/dev/sdN bs=4M status=progresschromeos.in is the file name, please change it with the name of the file you’ve saved.
By following these instructions, you’ll successfully create a bootable USB drive with the Chrome OS Flex system image.
Note: The Chrome OS Flex system image provides an alternative option for those who want a more flexible and customizable Chrome OS experience.
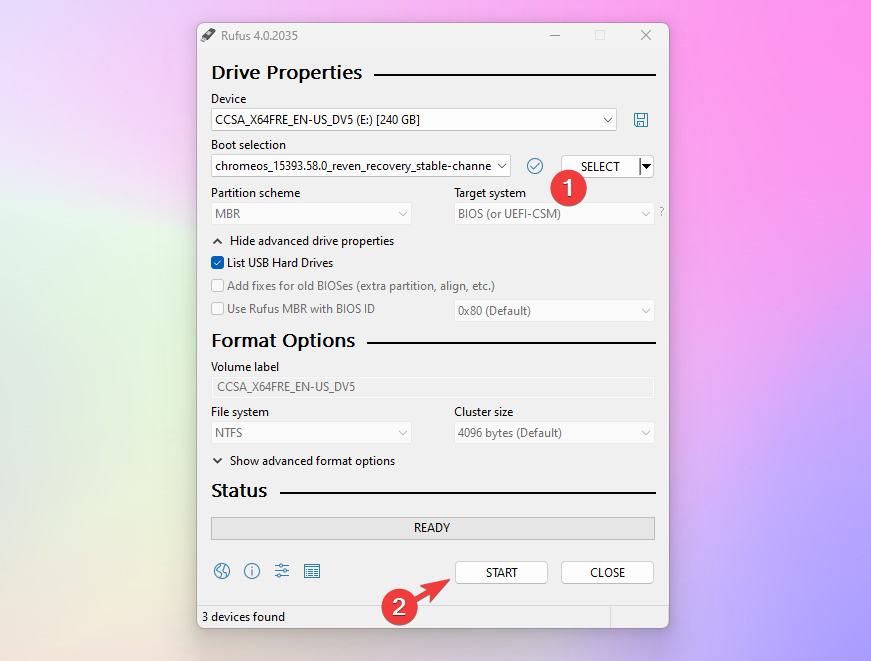
Make Chrome OS Flex Bootable USB on Windows using Rufus
- Get the ISO from the above links.
- Run Rufus on your PC and select the Chrome Flex image and click on start and in 1-2 minutes your installation media will be ready to boot.
(Guide) Chrome Recovery Utility to create a bootable USB | Windows
When you want to use the official method, here are the instructions.
- Install Chromebook utility tool, it is a Chrome extension that you can download using the Chrome web browser.
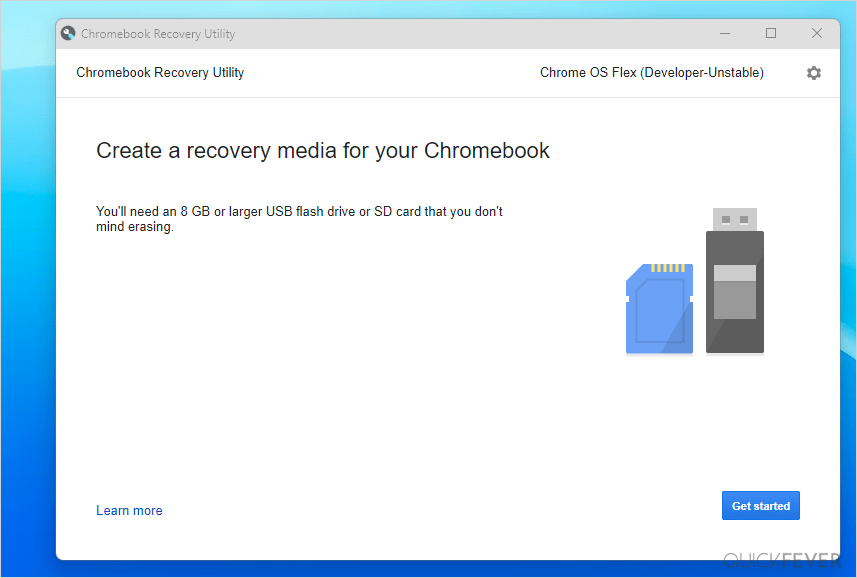
- Once installed open the Chromebook Utility tool, and click on get started.
- (if you have the BIN file) From the Setting icon, click Use local image and browse the file you’ve downloaded.
- Now click, select a model from a list, in manufacturer select Chrome OS flex and select Developer-unstable.
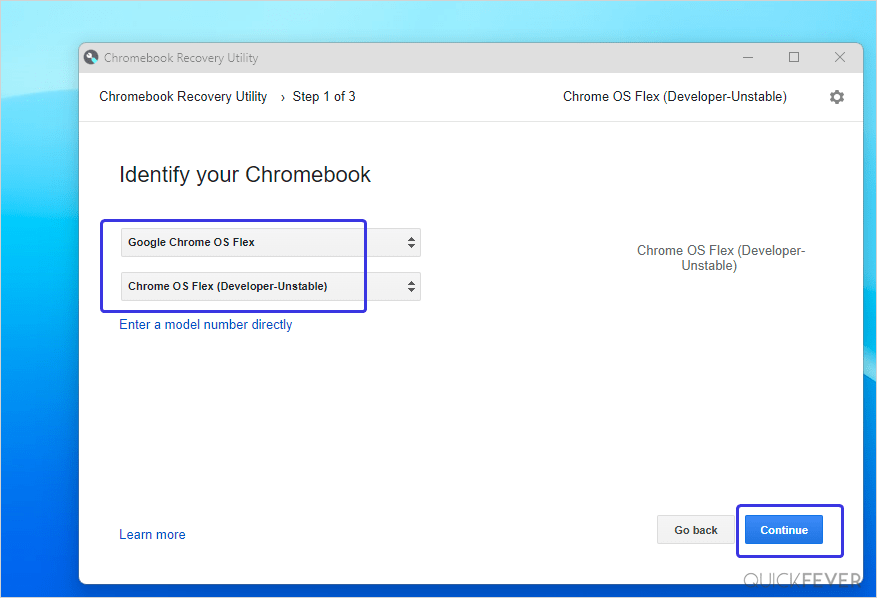
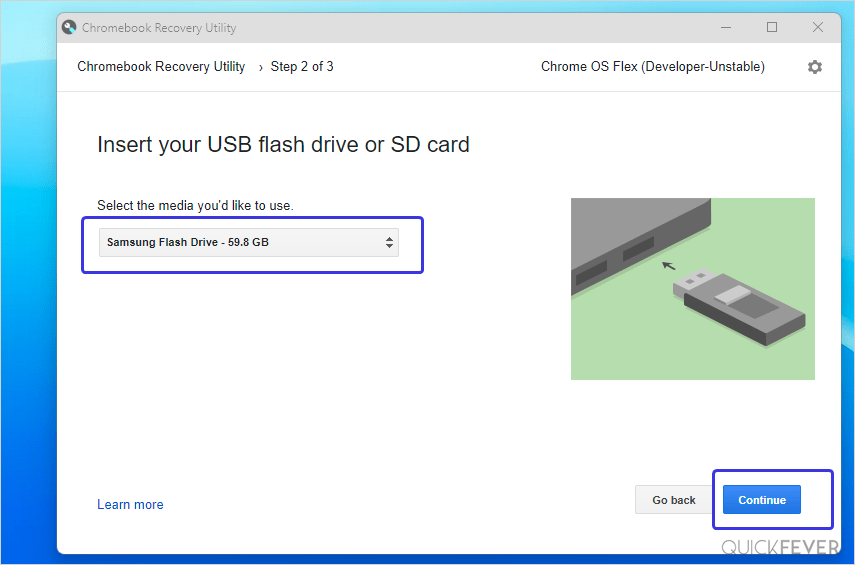
- Plug in a USB drive with at least 8 GB of storage and click on Continue.
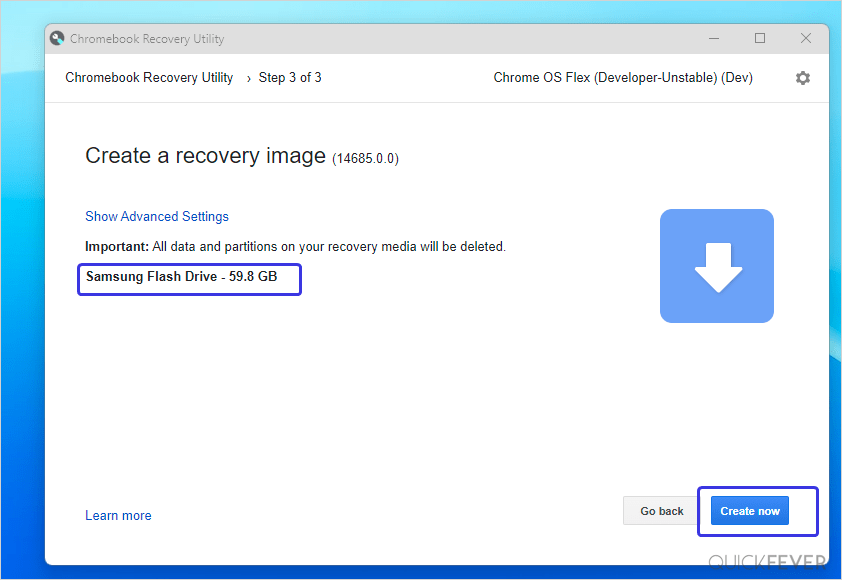
- A final confirmation will appear now along with the number of the current latest Chrome OS Flex build. Finally, click on Create now button.
- After a couple of minutes, the tool will download, extract and copy all the files to a USB drive.
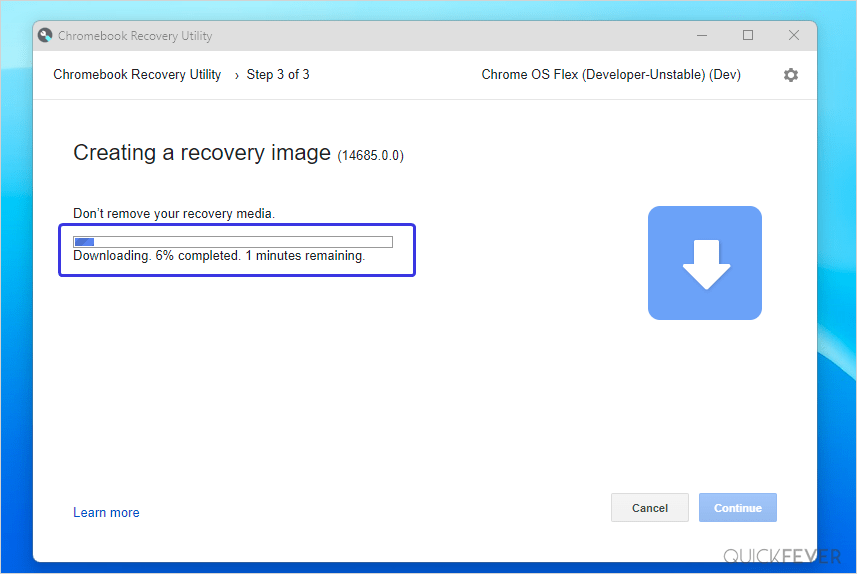
- The process includes downloading the file from the Internet verifying it and burning it to your pen drive it takes a longer time compared to the Rufus method. If you prefer the official method you can follow it.
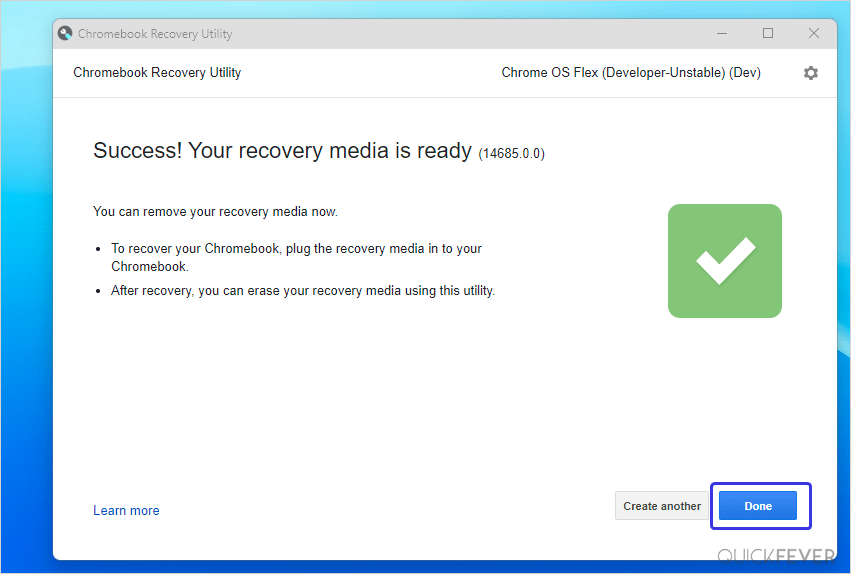
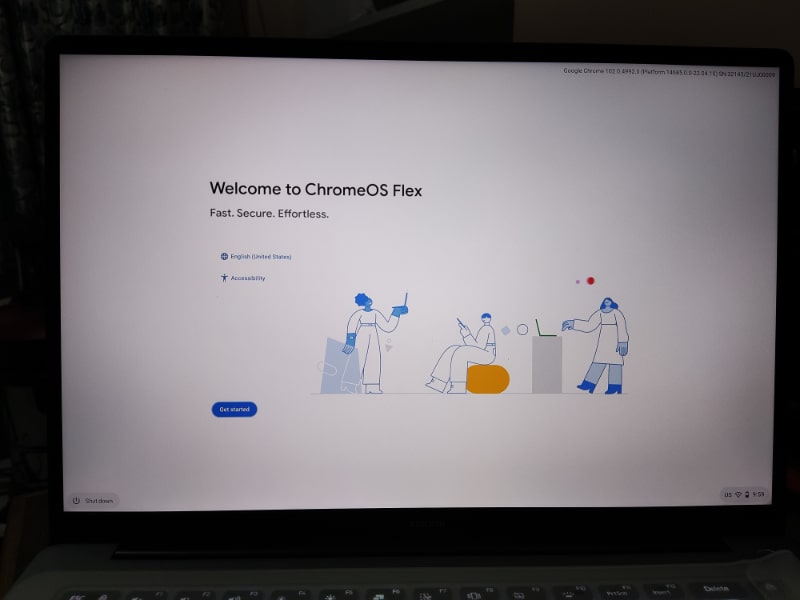
- Now boot with this USB to a computer and run Chrome OS flex.
Source and via: https://cloud.google.com/blog/products/chrome-enterprise/chrome-os-flex