
Dell offers a range of top-of-the-line laptops called XPS laptops. XPS laptops are characterized by their flagship specifications and minimalist designs. Here is how you can take a screenshot on your Dell XPS laptop. We will take you through several methods to help you share the screenshot with someone.
TAKE A SCREENSHOT ON DELL XPS 13, 15 and 17
Similar to Windows 10, all-new Windows 11 comes with a built-in snipping tool that can come in handy when you want to take custom-size screenshots rather than full-screen screenshots. Depending on the XPS laptop size, you may see fewer keys on XPS 13 compared to the 17-inch model.
Screenshot on Dell XPS using the built-in tool
You don’t have to use 3rd party Screenshot tools, because Windows got you covered. The Snipping Tool (or the official replacement Snip and Sketch)
Step 1.
Open the window office if you want to take a screenshot. Since the Dell laptop screen is not big enough you might want to zoom out by using Control + Mouse wheel.
Step 2.
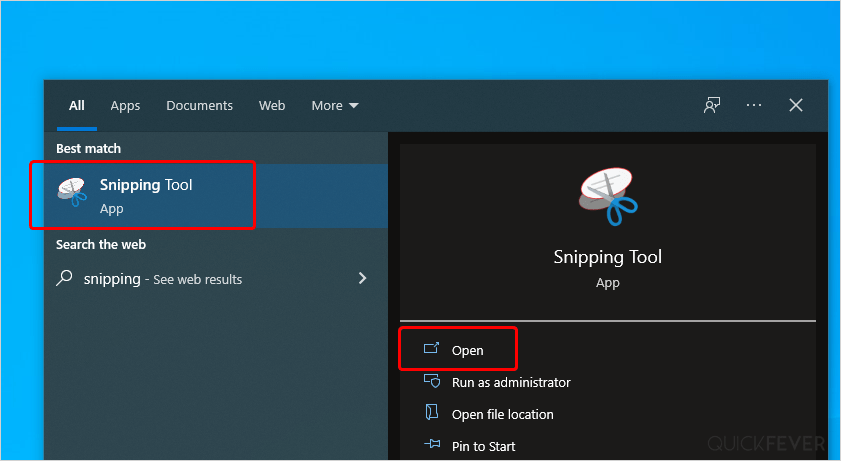
Hit the start button and type snipping tool (also screenshot and SS keyword do same).
Step 3.
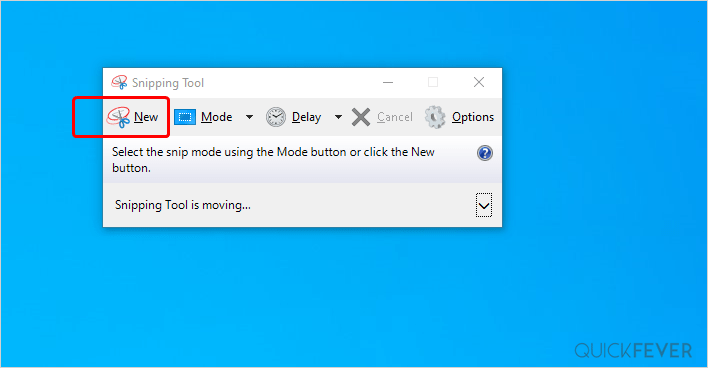
You can choose an area to capture when you click on the “New” button. Other options include delay and mode.
Step 4.
Specify the area of the screenshot using your trackpad or with a mouse [if] attached. You can always take a full-size [window or full screen] screenshot and later crop it.
Step 5.
The screenshot you just took will now appear on an edit screen, where you can save it on your storage or copy-paste it into a supported website.
Tip: You can directly paste the image using CTRL + V on sites like Google Docs, Facebook, Twitter, WordPress, Imgur and etc.
Dell XPS screenshot using shortcut keys:
Step 1
Be on the page you would like to take a screenshot. It can be anything that can display on your screen.
Step 2
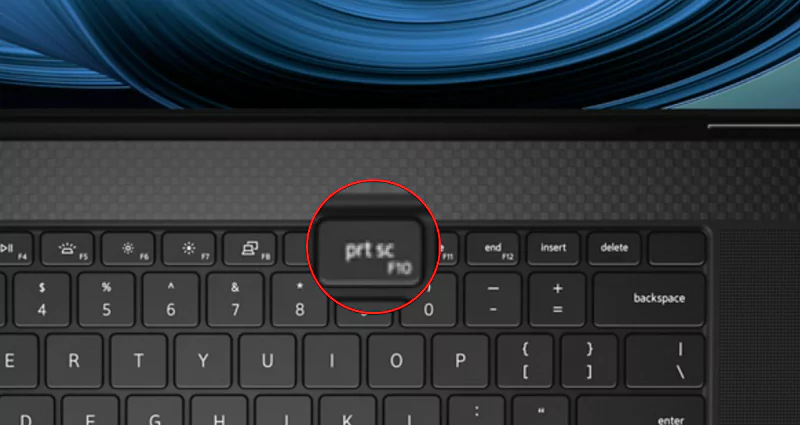
To take a full-screen screenshot, Press the Fn key + Screenshot button.
Step 3
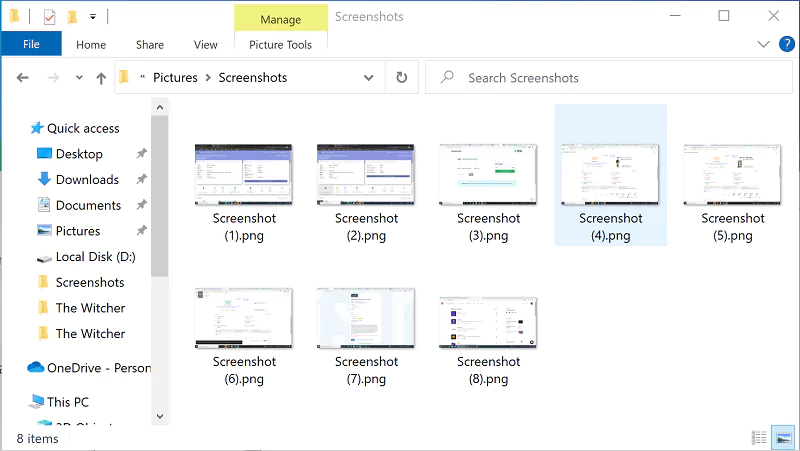
Access the screenshot folder in File Explorer ➜ This PC ➜ Pictures ➜ Screenshot
Step 4
Every screenshot that you took using the Fn + Prt src shortcut goes here, you must back up this folder since the folder comes under a Windows installation partition.
ABOUT DELL XPS 13, 15, and 17 (2022)
Being a premium lineup, XPS laptops weights less without compromising on build quality. Every year Dell releases an upgraded XPS lineup which never stops amazing the audience. XPS notebooks come in a multitude of sizes, ranging from 13 inches with full HD to 17 inches with 4K. They have a unique keyboard that’s different from generic laptops. XPS 13, 15, and 17 come in Intel 11th and 12th generation processors along with multiple Graphics card choices.
FAQ?
Q. How to find screenshots in Dell XPS
Answer: Find the Pictures folder in This PC (file explore), all the screenshots are stored in the Screenshots folder. The full address of the folder is C:\Users[USER]\Pictures\Screenshots.
1 comment
Hi. Thanks for the info. I would like to inform you that on Dell XPS laptops, you can take a screenshot of the page you want by clicking the “windows” button + the “F10”. Not the “fn” + “F10” as mentioned.