Windows 10 is a great OS. It was even made available as a free upgrade to the Windows 7 and 8.1 users. Windows 10 brought many improvements with it and is one of the best versions of Windows. Windows 10 has been a success and it shows, as a major chunk of PCs have Windows 10 installed now.
A common issue that users face after upgrading to or after a clean install of Windows 10 is that the brightness controls stop working. This bug doesn’t let you change the brightness level of your laptop. Many of the laptops have a dedicated function key for adjusting the brightness levels too. The issue is quite irritating actually. Imagine you’re working in the dark and want to decrease the brightness level. Or the battery is low, and you want to save some power by decreasing the brightness.
These controls just fail to work, be it the keys or from the control panel itself. This is usually because of the driver versions after updating to the newer version of Windows. The issue is only because of faulty or outdated graphics drivers after updating or a clean install of Windows 10. The problem may also arise due to the fact that there is no graphics driver installed at all. Windows 10 updates and install all the necessary drivers via the Windows Update service itself. However, even after doing so, the problem often persists.
So, to solve this issue, you just need to update or download the corresponding drivers.
How to fix brightness problem in Windows 10
Use Device Manager to update or download the driver(S)
Windows 10 allows you to view all the hardware components in one place, the Device Manager. The tool helps you see details of components installed on your PC. (Read How to check Graphics Card in Windows 10). Device Manager keeps track of all the components as well as their drivers. Using this, you can fix the issue without downloading any third-party tools easily. To begin, follow the steps below.
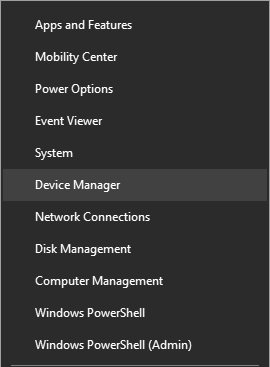
- Open Device Manager by right-clicking on the Windows Key. Now, select Device Manager from the list to open it.
- In the Device Manager window, double-click on the Display adapters option to expand it.
- Under this, you’ll see your graphics components listed.
- Now, right-click on it. (if you have more than one like in my case, start with any one).
- Select Update Driver option.

- Now, you’ll be presented with two options- Search automatically for updated driver software, and Browse my computer for driver software. The former searches the internet for most suitable driver and the latter searches your computer.
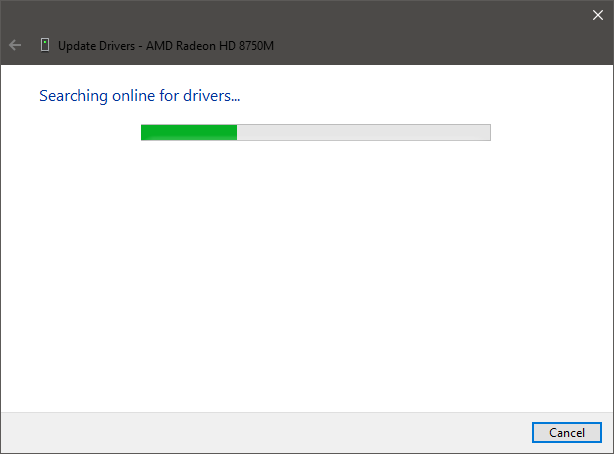
- Click on the Search automatically for updated driver software option. Now, it searches for the suitable driver. If found, it is automatically downloaded and installed.
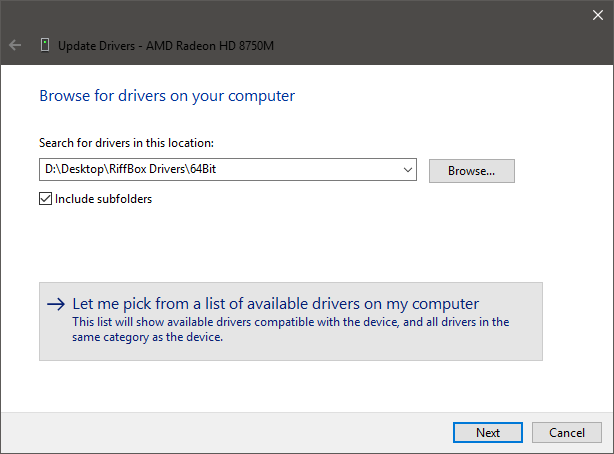
- If the problem persists, again follow the above steps and select Browse my computer for driver software this time. This option searches the computer itself for any suitable driver software.
- Now, click on the Let me pick from a list of available drivers on my computer option.
- Next, choose the most recent driver from the available drives and click Next.
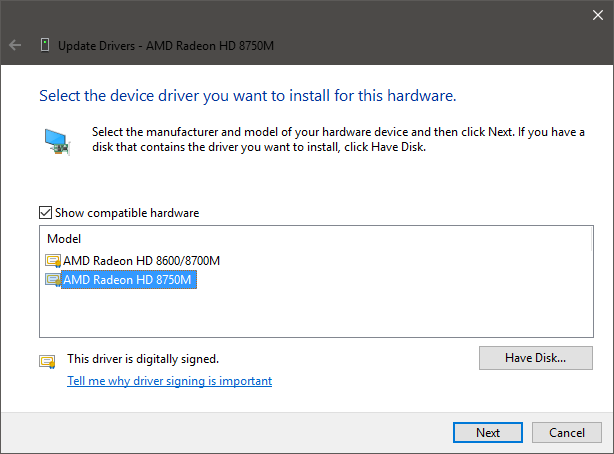
- Now, the corresponding driver will be installed on your computer.
- If the problem persists, try another version of the driver.
This is how easily you can update your drivers in Windows 10. Now, you should be able to change the brightness levels on your computer.
However, if this also doesn’t fix the problem, try uninstalling the driver. You can do this by choosing the Uninstall driver option in step 2.
Manually download and Install the driver
If none of this worked, you could try installing the latest driver software manually. You can do this by downloading the latest driver for your PC or Graphics Card from the manufacturer’s website.
If you are not sure what graphics card your PC has, here is a guide to that as well. Also, be sure to download the correct version of the software. The 64-bit version won’t work on 32-bit and vice-versa. Now just double click on the downloaded driver and follow the on-screen instructions to finish installing the driver. A restart is often required after installation to finish. So be sure to save all your work before that.
You can also use third-party programs but beware most of the tools may come with bloatware or bogus software etc. These programs automatically search and download all the latest drivers for all your components.
This is the most common problem faced after a fresh install or upgrade to Windows 10. Thankfully, it is easy to fix. Just follow the above steps to get it working in no time.
Do shoot your doubts in the comments section below!