
Learn how to take full WordPress Backup in CyberPanel to be on the safe side. If things go south, you can restore the backup and have your website as if nothing happened. This can save a couple of hours of backup things manually.
How to install WordPress with CyberPanel: 101
When you have to manually backup a WordPress site, you have to backup Post, Media and other uploads, then Database (which is the most arduous part, trust me) and then Uploads. Restoring them is like grrrr, very frustrating and there are tutorials for different web hosting servers.
Luckily, I adopted to OpenLiteSpeed web server which can be controlled by CyberPanel which not just only makes my website load fast also comes with amazing features. One of them is Backup and Restoring a complete WordPress site. OpenLiteSpeed performs way better than Apache, Nginx or any combination of them.
The CyberPanel WordPress backup includes
- SSL keys
- Full WordPress directory (uploads, theme, plugin and everything else)
- Database (SQL)
So you just have to take backup and restore it (if things go south) and you’ll find your WordPress site as it was during backup.
How to restore Backup in CyberPanel.
So tighten your seat belts because we’re thrilled to talk about the Backup feature.
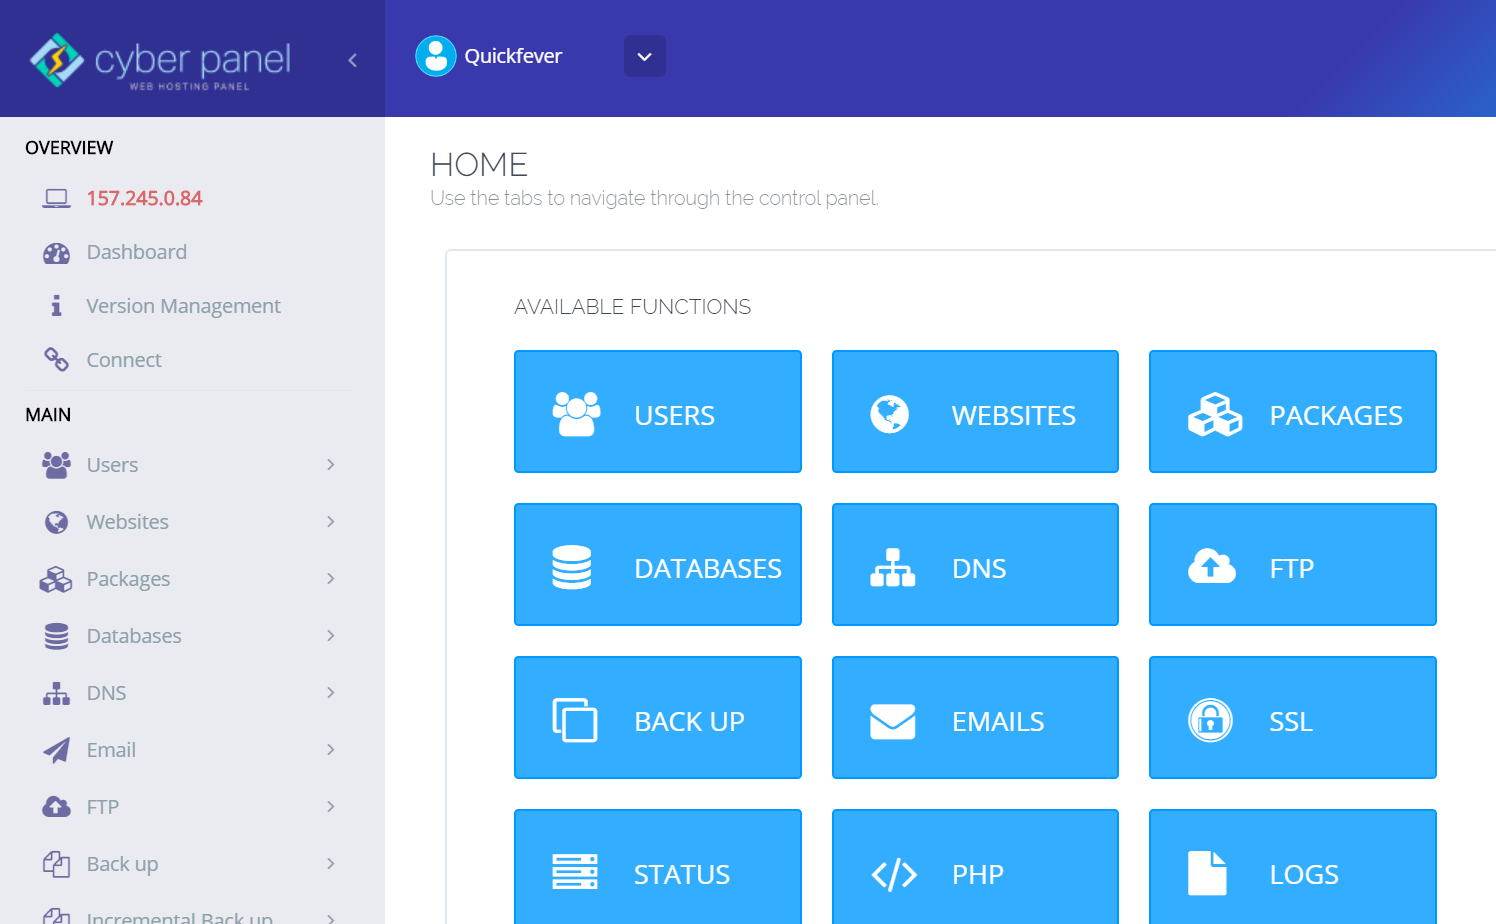
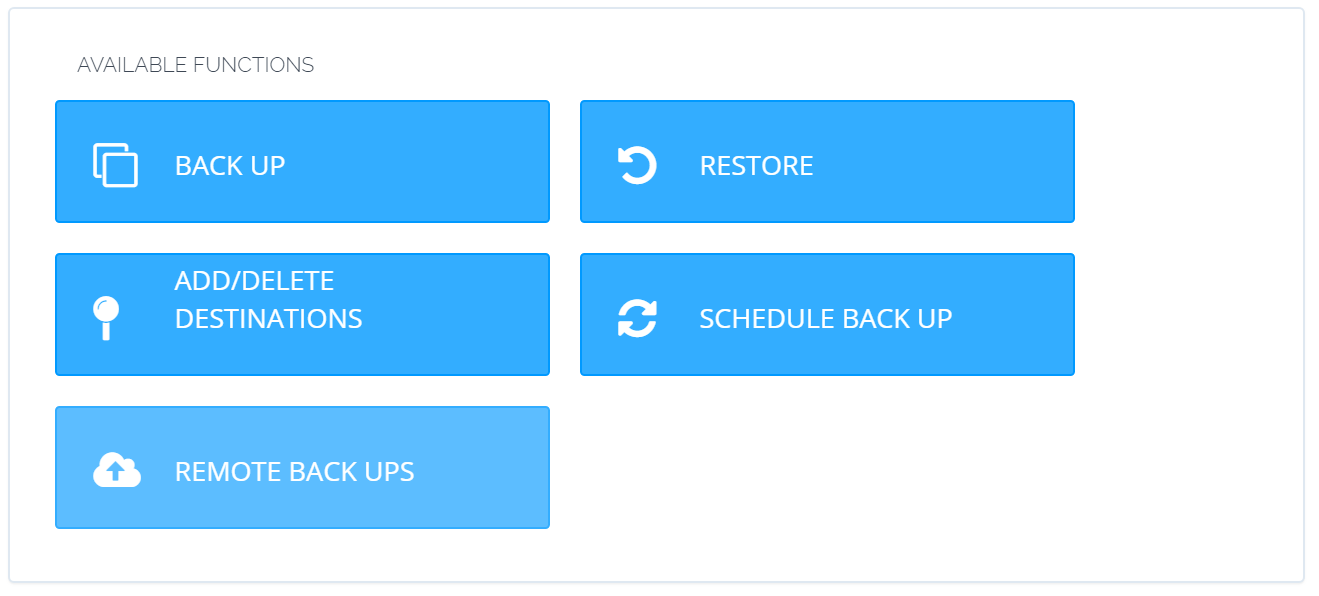
Step 1. Open up the Dashboard, go to Backup. The Panel itself is very easy to use and been simplified for normal users. It is not much complicated compared to Cpanel.
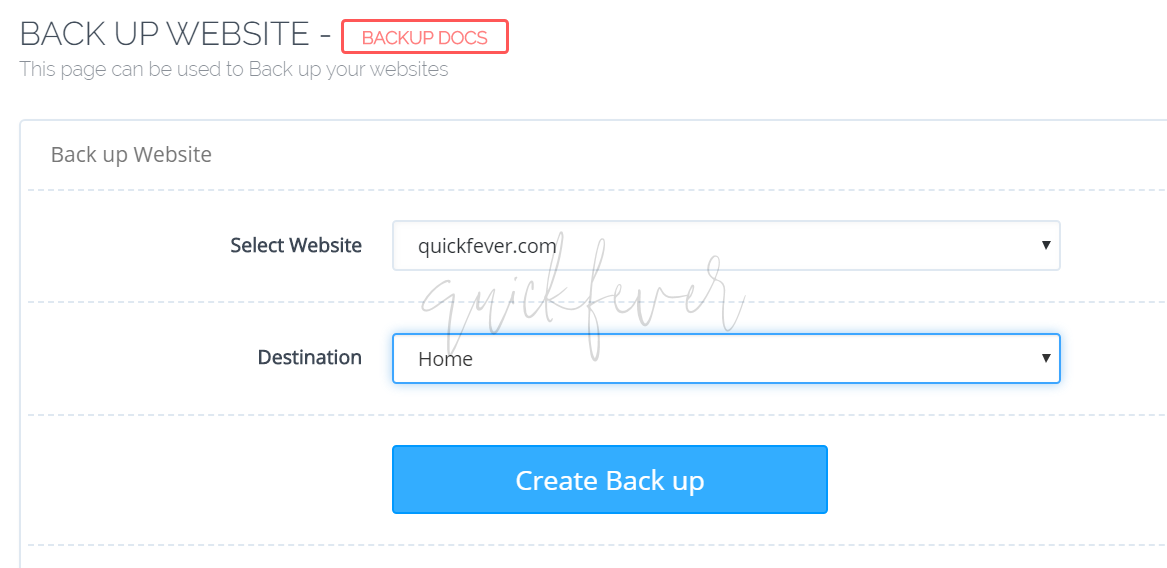
Step 2. Create a backup.
From here you select which website you want to make makeup, select it from the dropdown-menu and click on the backup button. It will take a few seconds to a few minutes depending on your website database and uploads size. The backup will be in an archived format and take place at …./home/DOMAIN.com/backup.
How to restore Backup in CyberPanel.
You will be required to open an SFTP (Secure FTP) connection using “CyberDuck” or simply use FileZilla. Once you made a backup, all the things go into a ZIP folder, which you can of course download and save it to your hard drive. by Default, all the backups go to the following location.
ip:8090/home/domain.com/backup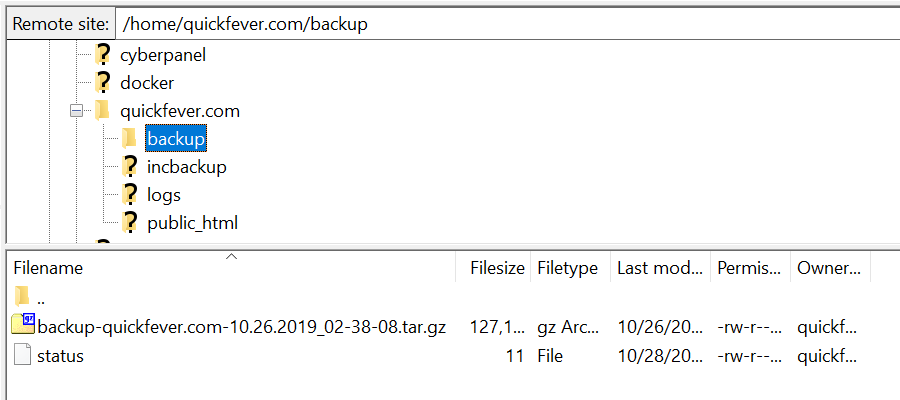
You need to manually move the backup archive to /home/backup folder. It can be an additional step for normal users, even at first I thought the Restore feature is broke, later found the proper instructions to make it work.
/home/backup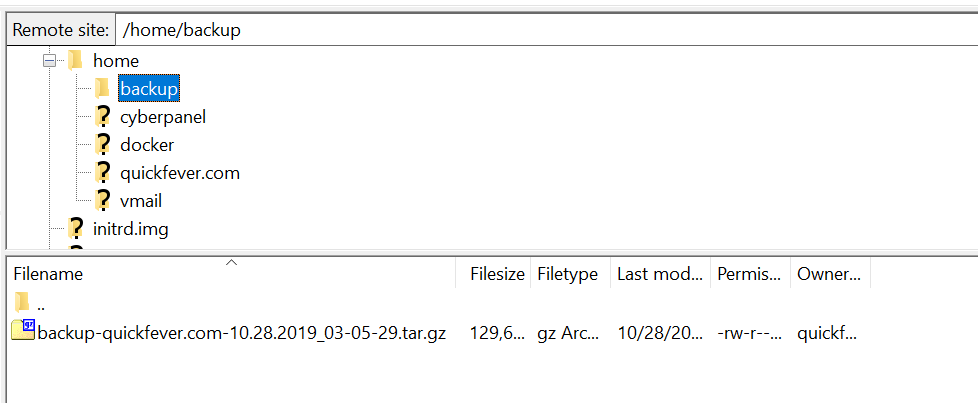
TIP: When using FileZilla simply expand the directories and move the zip file from one to another folder.
Step 1. From your CyberPanel dashboard, go to Restore.
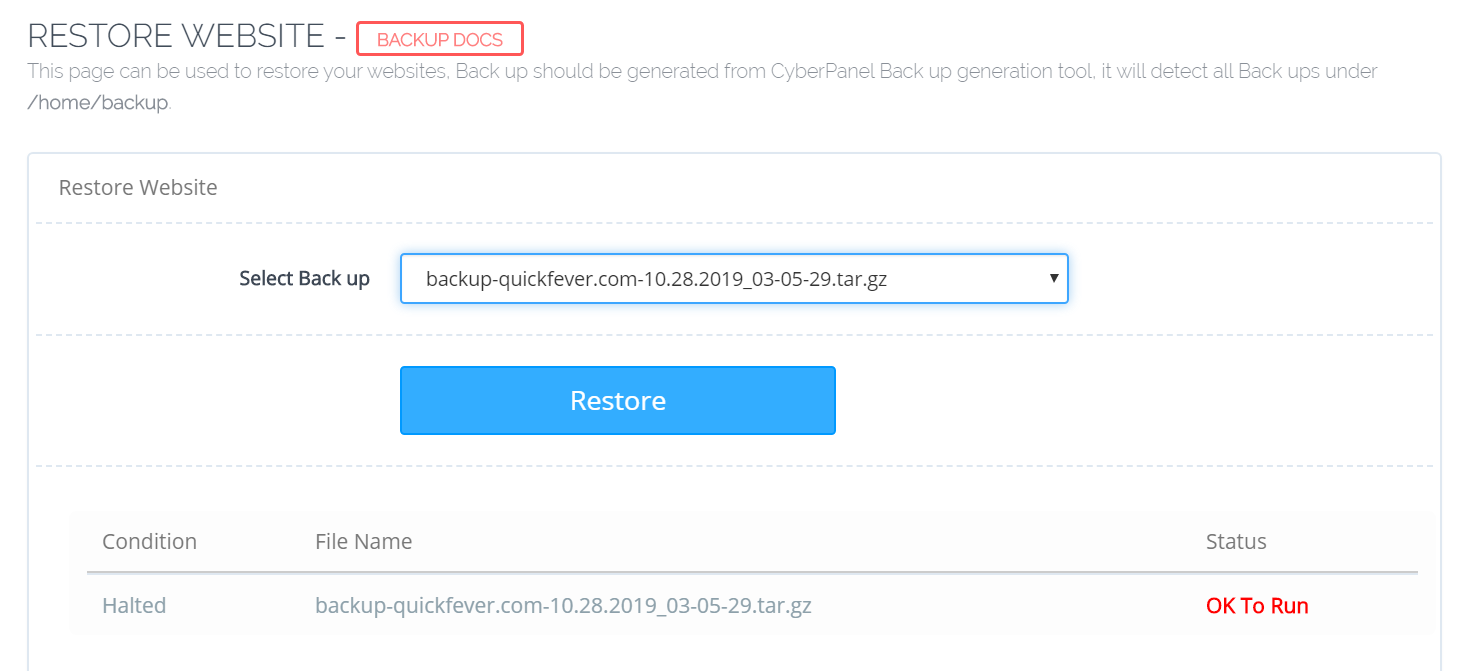
Step 2. You now have a drop-down menu, please remember to move the backup as we have pointed out earlier. The panel will only recognize backup at this location.
Step 3. Simply select the backup (tar.gz) and click the Restore button. Within a few seconds, your Website should be expected to work.
Suggestion: You can easily take the whole WordPress backup and change your server then install Cyberpanel and finally restore the backup archive to restore your WordPress site. For advanced users, if you change server then you get a different IP address, simply open the backup archive on your computer, find the meta.xml file and edit it. You need to change the IP address, but you can also tell which Php version your WordPress should when you restore the backup.
Conclusion
CyberPanel is currently the best way to deal with OpenLiteSpeed web server (don’t confuse web-server with hosting server). If you think that article is good for you and your friends use cyberpanel then you can give them this tip. You can schedule a backup for 1 week so that you will have a backup automatically every single week or you can do it daily or even monthly.