
Advertisement
Want to try out a new Operating System? Heard a lot about Ubuntu or any other OS for that matter but don’t want to use it before testing it out? Perhaps you don’t want to dual boot it alongside your current OS fearing anything could go wrong. A second PC could really help in these kinds of situations. So, if and when anything goes wrong, you have your primary PC intact.
Perhaps you have moved to a new operating system and want to work on a specific software available for just a specific OS. You can always dual boot an OS alongside your current one but then again, it has its own hassles. Well, Virtual Machines are here to your rescue!
Virtual Machines essentially are just this- your secondary space to try all your new operating systems, programs, or whatever your needs are. It basically works just like a separate computer, and you can install any OS you want, install programs in it. This all is done without affecting your current setup in any way, so if things go wrong, it doesn’t affect your primary OS. Basically, you’re running a secondary OS inside software on your Primary OS.
There are many options to do so, the two most popular software being VMware and Virtual Box. Both work in a similar way. They create a container where you can run and install your OS like it’s being installed on a separate PC. These lets you choose the amount of RAM, storage, and processing power you’d like to allocate to the secondary OS. The only thing is, if you want to migrate from using one of these to another, it’s not so straightforward task. If you want to keep your OS setup and all its files, programs, and settings intact while migrating from VMware to Virtual Box, follow the steps below.
Convert VMware to Virtual Box and vice-versa
VMware to Virtual Box
Before starting, ensure that the Virtual Machine you want to export is in “Powered Off” state and not otherwise. To be able to run it in Virtual Box, we need to convert the VMware file (.vmx) to Virtual Box file (.ovf). To do so, follow the steps below. Though there is not a GUI-based way of doing so, this isn’t all that difficult either.
Now that it is powered off, let’s start.
- Open VMware installation directory. By default, it is C:\Program Files (x86)\VMware\VMware Player.
- Now inside the folder, hold shift and Right-click on the OVF Tool present in the folder.
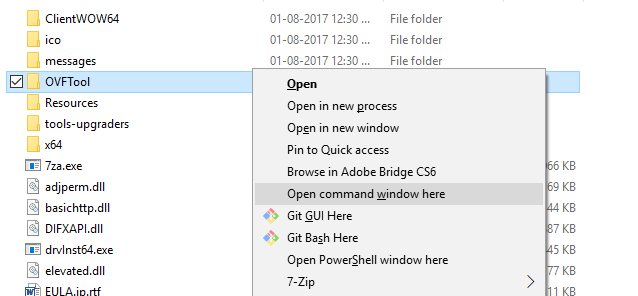
- Select the Open Command Window Here option.
- Now, a CMD window opens.
- Now, run the command in the below format to convert the vmx file to ovf.
ovftool “source-file.vmx” export.ovf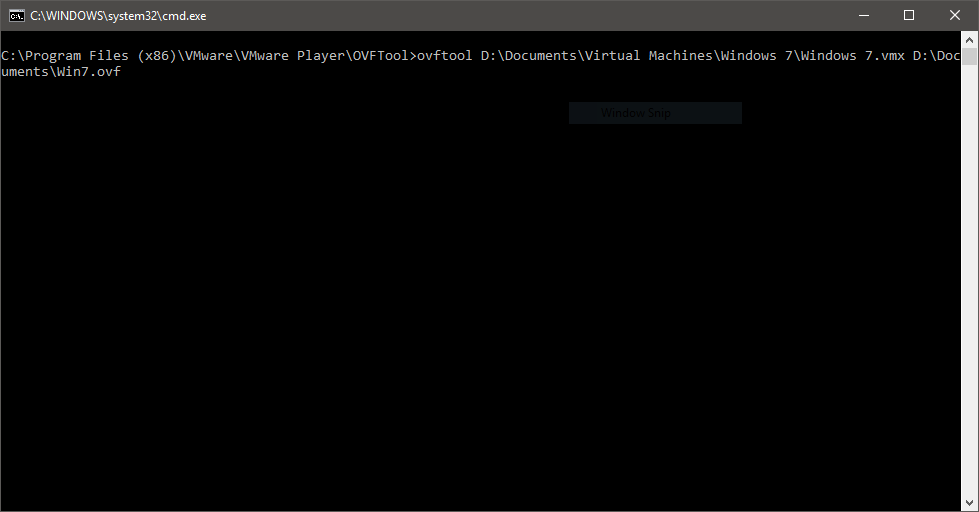
- Here, the source-file part is to be replaced with the location of the source vmx file.
- Keep the extensions and the export part the same.
- For example, ovftool “D:\Documents\Virtual Machines\Windows 7\Windows 7.vmx” D:\Documents\export.ovf is the command I’m running if the file is stored in the respective directories.
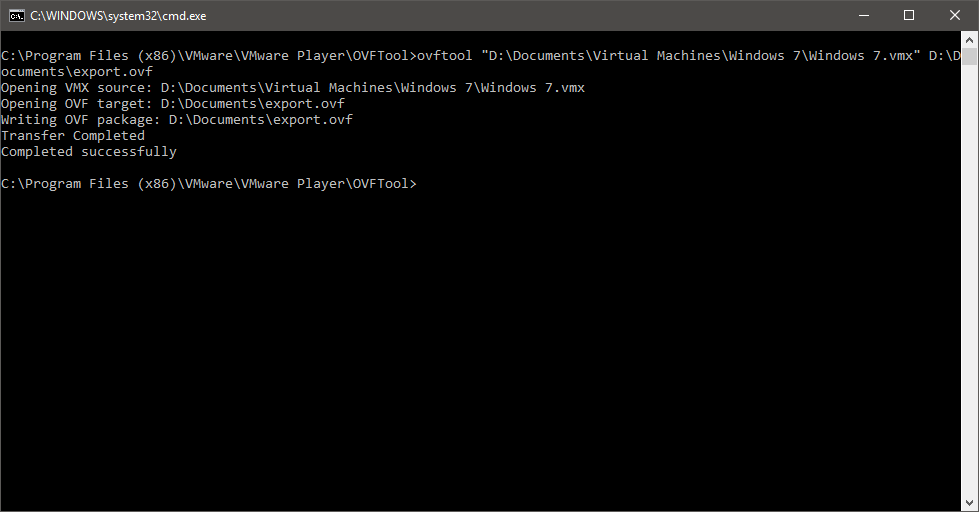
- Now, the command should run and the file will be exported in the respective directory.
The export is now complete. You can now open the same Virtual Machine with same files, OS, and settings intact on the Virtual Box as well. To open the exported file in Virtual Box, follow the steps below.
- Open Virtual Box.
- Click on the File option and select the Import Appliance… option.
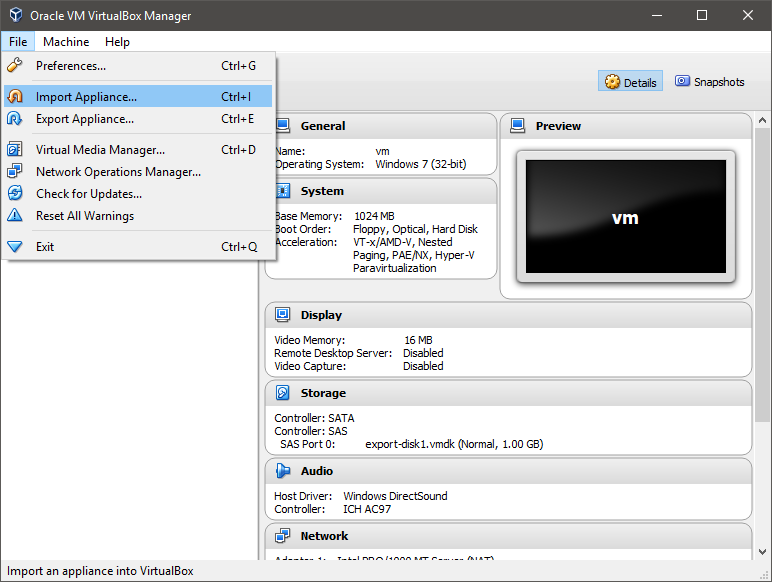
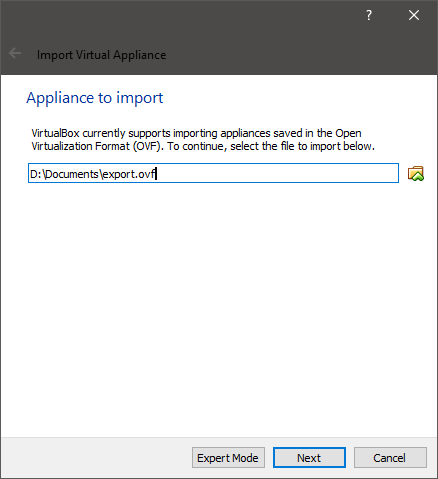
- Now browse and select the newly exported .ovf file.
- Now click on next.
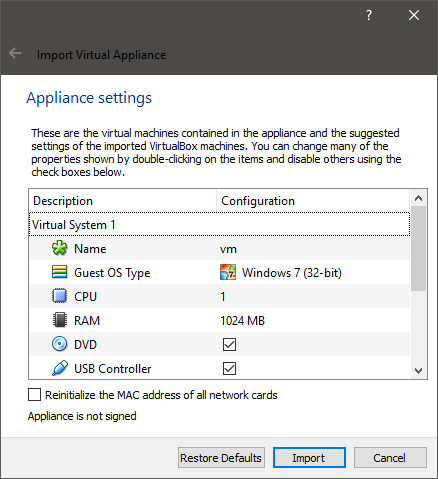
- Finally, click on Import button to finish importing the .ovf file.
When done, you should be able to use the same Virtual Machine on Virtual Box as well.
Virtual Box to VMware
While there is no GUI-based, simple way to convert VMware to Virtual Box. However, converting Virtual Box to VMware is relatively much simpler. It offers a neat GUI-based procedure, so you don’t have to fiddle around with CMD commands and errors. To convert the other way around, follow the steps below. Using this
- Open Virtual Box.
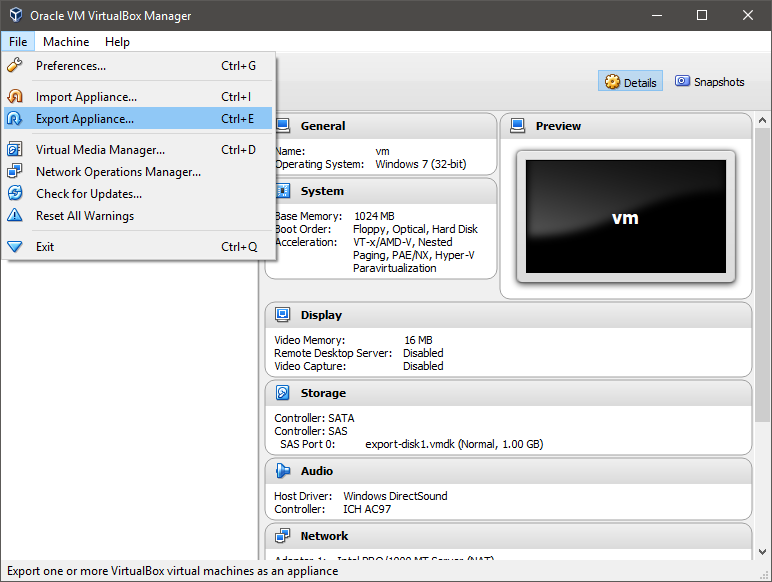
- Click on file button and click on Export Appliance… option.
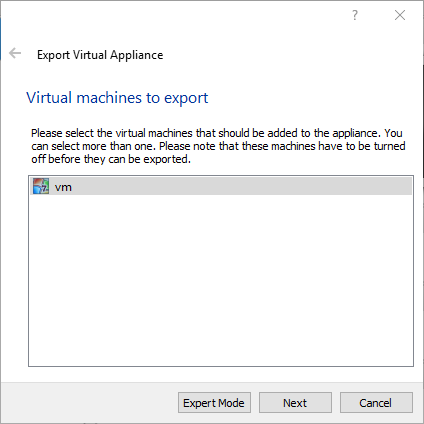
- In the Export Virtual Appliance wizard, select the virtual machine you want to export and click Next.
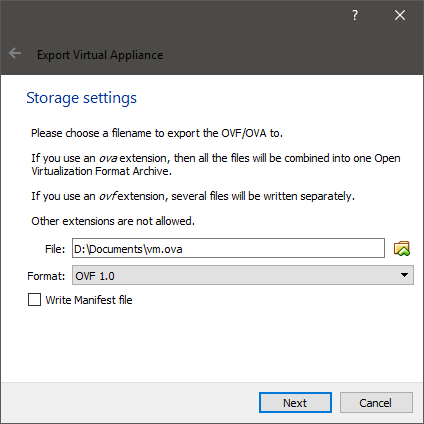
- Now, choose where you want to store the exported file and click Next.
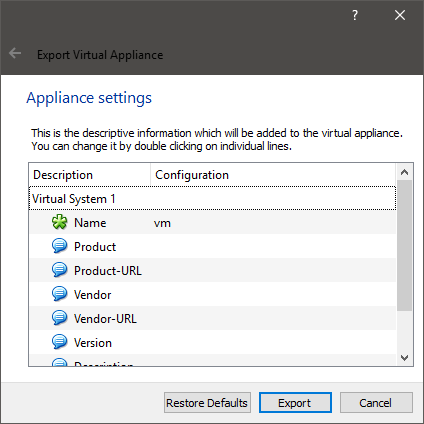
- In Appliance Settings page, click on Export to finish the exporting process.
Now, the exported file is ready to run on VMware. To do so, follow the steps below. It is worth noting that you’ll receive a warning in the import process but that is absolutely fine. Just click on Retry button, and it should be imported this time without any problems or errors.
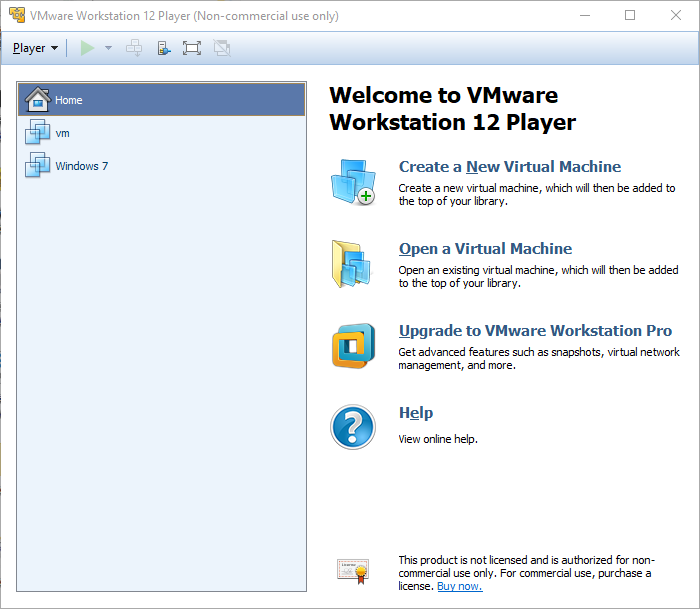
- Open VMware.
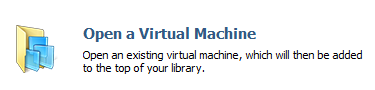
- Click on Open a Virtual Machine option to open the newly created Virtual Machine.
- Browse for the file and open it.
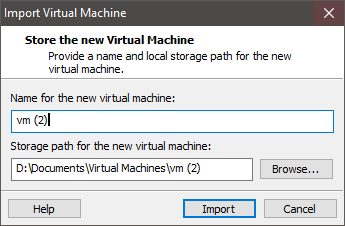
- Now, just click on the Import button.
- Now, after the process is complete, you may see an error message.
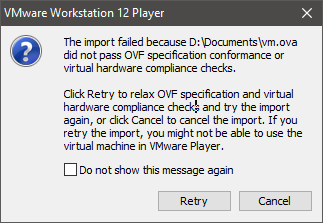
- Click on Retry button to retry the operation, and it will be importing this time without any errors.
- If the error doesn’t go, you may have to retry the exporting process all over again.
- When done, you should see your new Virtual Machine in VMware player.
Now you can easily convert your Virtual Machine from VMware to Virtual Box and the other way around as well. The process is straightforward and works perfectly fine as both the programs are capable of exporting the Virtual Machines to the respective formats.
However, if you encounter any error(s), try the importing process again and if not resolved, try exporting it all over again.
Now you: Have any doubts? Shoot them in the comments section below!