How to fix error establishing a data connection in Digitalocean one-click WordPress application based on Ubuntu 18.04.
Digitalocean is one of the best do it yourself hosting solutions and provides affordable VPS servers. When you install WordPress using the panel while creating the droplet. You will face the problem when accessing the website end up saying “error establishing a data connection.”
So there may be the top three reasons why this error occurs.
- One is when your database is corrupted.
- Second, you have the wrong credential in WP config.php file.
- When the resources are out of memory.
You can Try this instead if you think its a technical fault.
But I have seen that the problem with Digitalocean is not because of the reasons mentioned above. It happened with me when I migrated WordPress installation from Serverpilot to simple one-click WordPress app through the DigitalOcean panel. And guess what my website end up showing error establishing a data connection. A simple droplet power-off and on makes everything works again, but after a while, the same happens again. This is frustrating as your visitors will bounce, Google sees your site a dead destination and revenue loss.
The Situation
I again created multiple droplets and installed WordPress on them using the one-click app method. The results were the same the even on different droplets. It may be because of poor configuration when you install WordPress through the droplet creation process. So what is the solution for this situation and to prevent this from happening again to your website?
The Solution to the error establishing a data connection?
Use a Service to install WordPress on your server.
Here you have two options one is Serverpilot, and the other is Runcloud. Both services can be used to install multiple WordPress and other on a single server. Since we gave more wattage to free services, Runcloud is a clear winner here. Serverpilot recently closed free plan, while runcloud allows you to connect one server in the free plan.
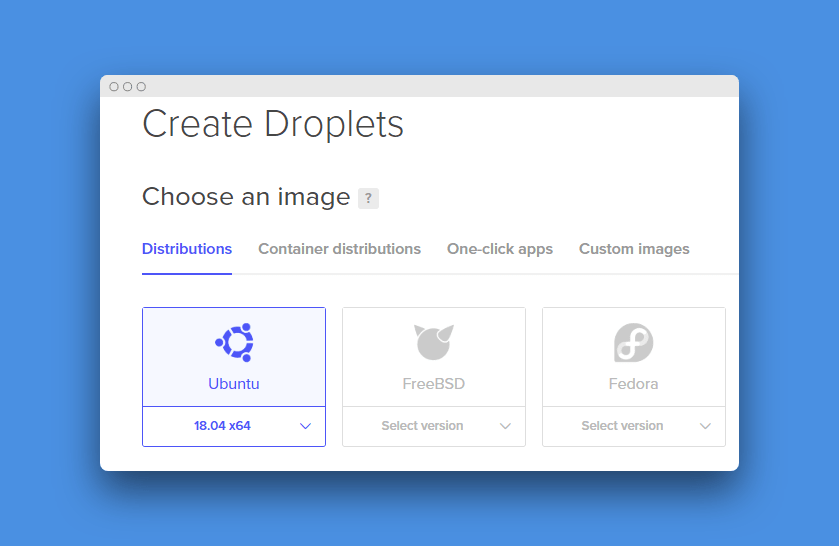
Step 1. Create a server
Create a new Droplet in DigitalOcean (any other VPS) based on Ubuntu 18.04. Don’t select one-click WordPress install. We’re going to connect this server to Runcloud and install WordPress through it.
You’ll get droplet IP address and Root password via registered email.
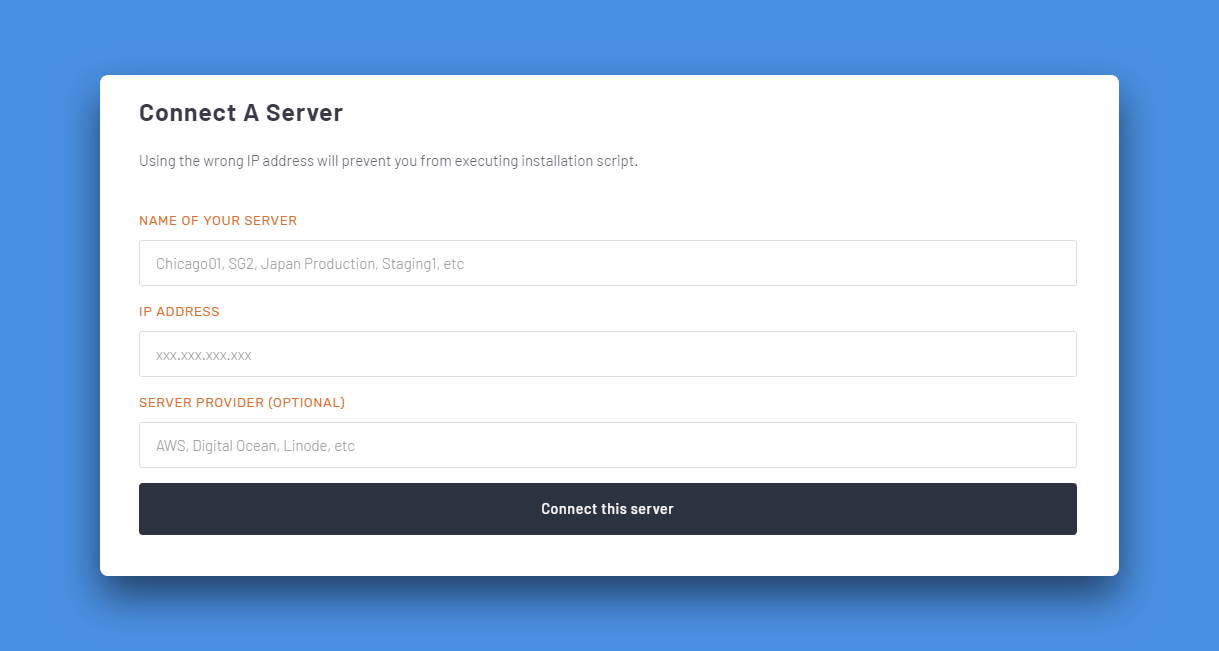
Step 2. Connect it to Runcloud
Open runcloud.io (read review)and Sign up for an account, when logged in. Just click on Add server and provide IP address of your server. Now it will display code which you need to send using SSH command.
For that, you can use PUTTY.
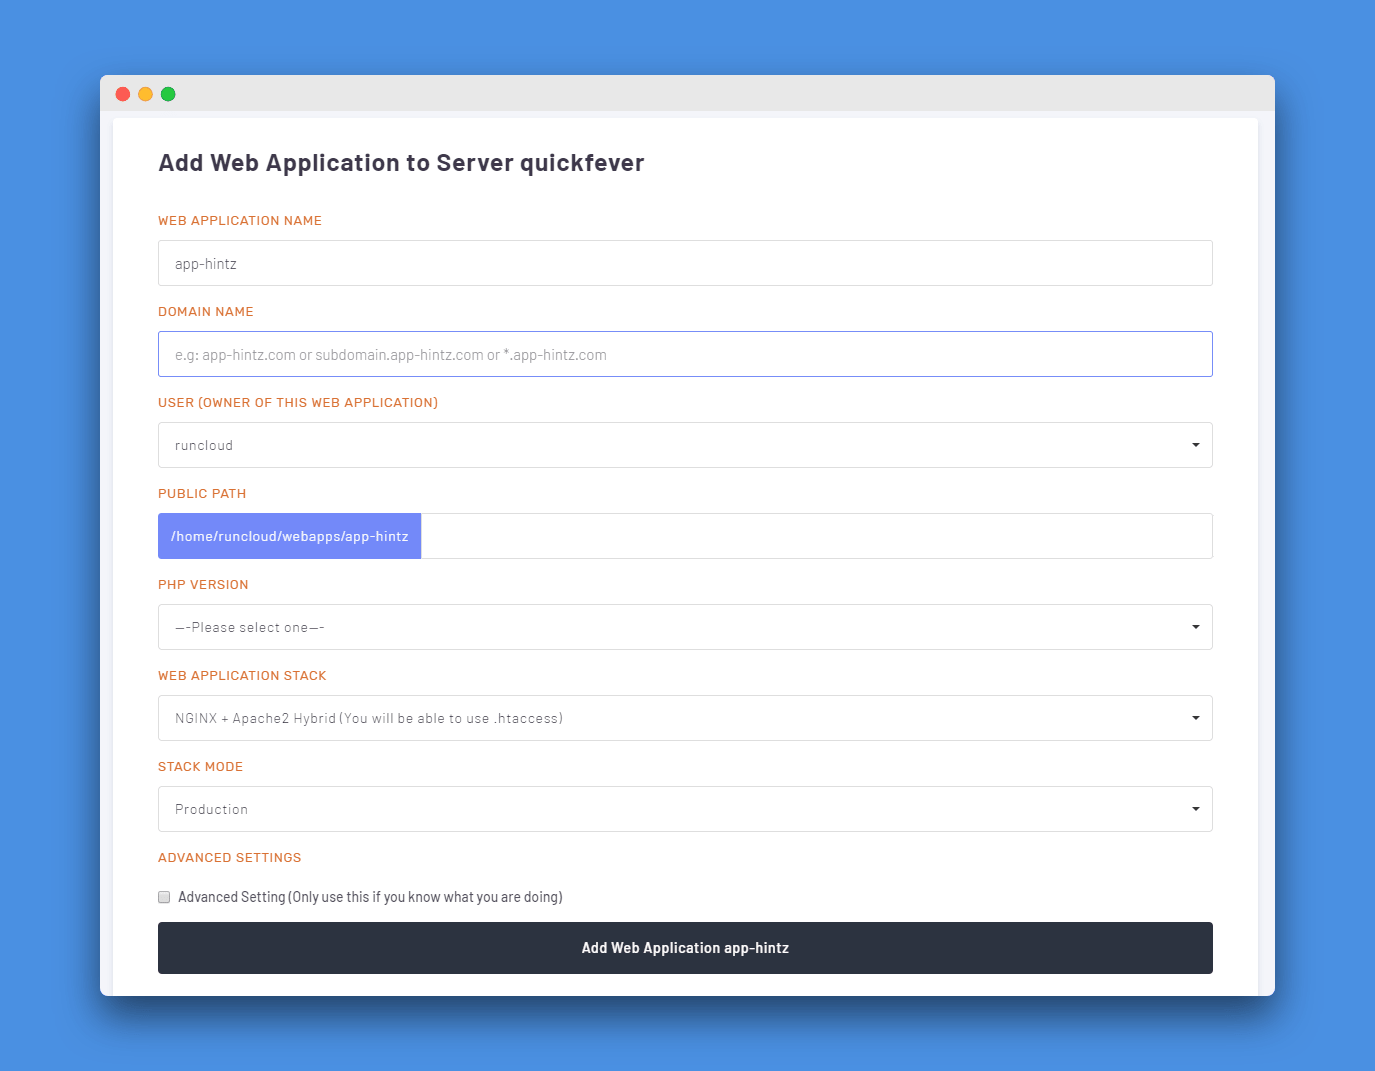
Step 3. Create a new Web Application in Runcloud
Create a new Web Application in Runcloud.
- Web application name: Name it anything, make is short.
- Domain Name: Your domain which you want to connect to this WordPress installation.
- PHP version: 7.3
- Web Application stack: Nginx + Apache 2
- Stack Mode: production
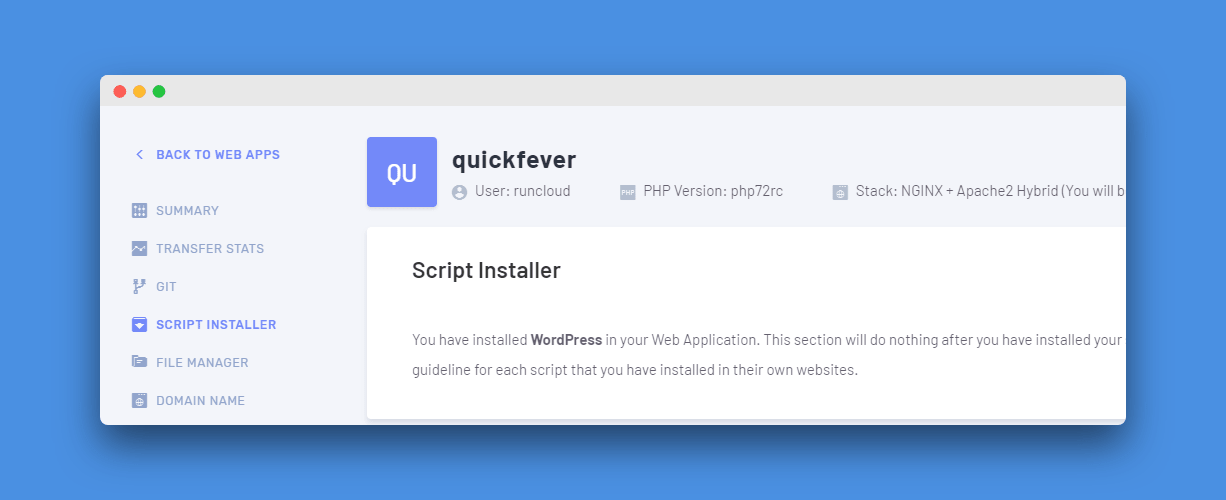
Step 4. Install WordPress:
SERVERS > *Web Application > Script Installer (choose WordPress).
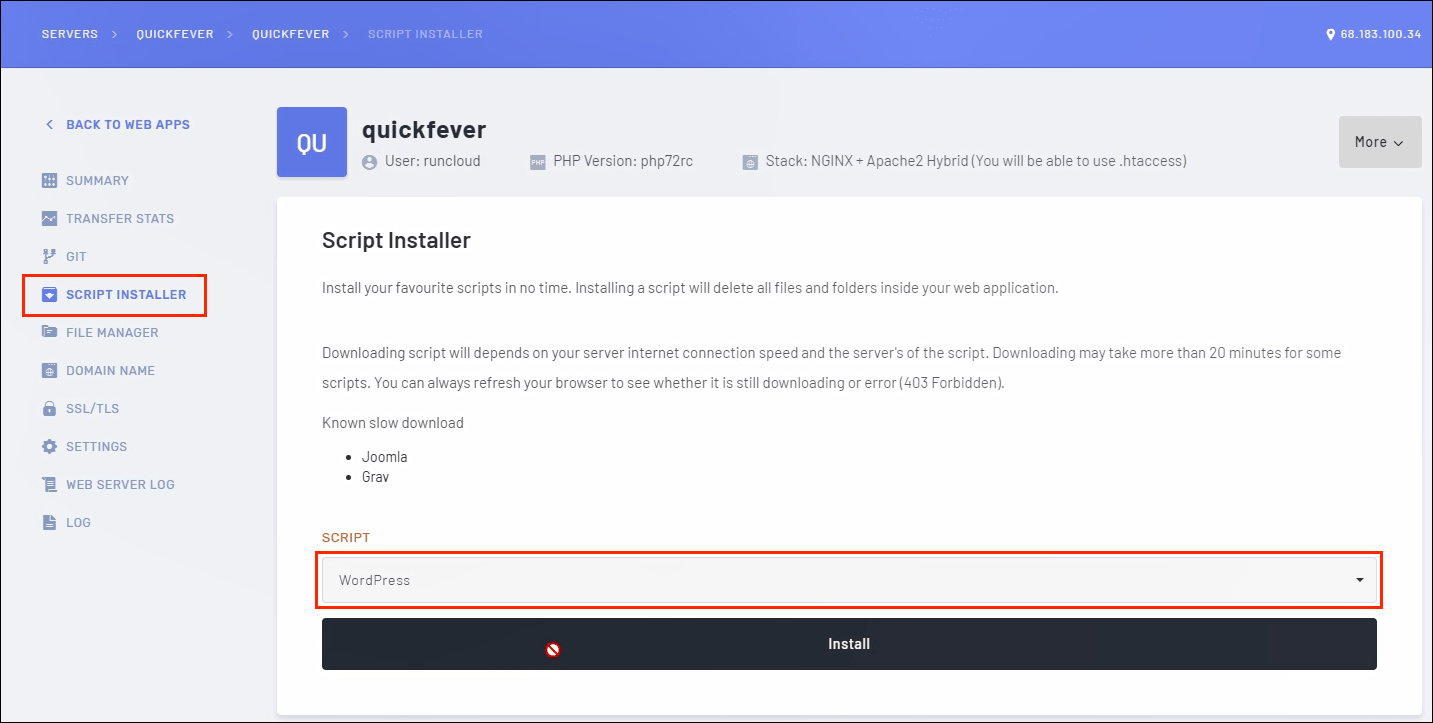
It will take a few seconds.
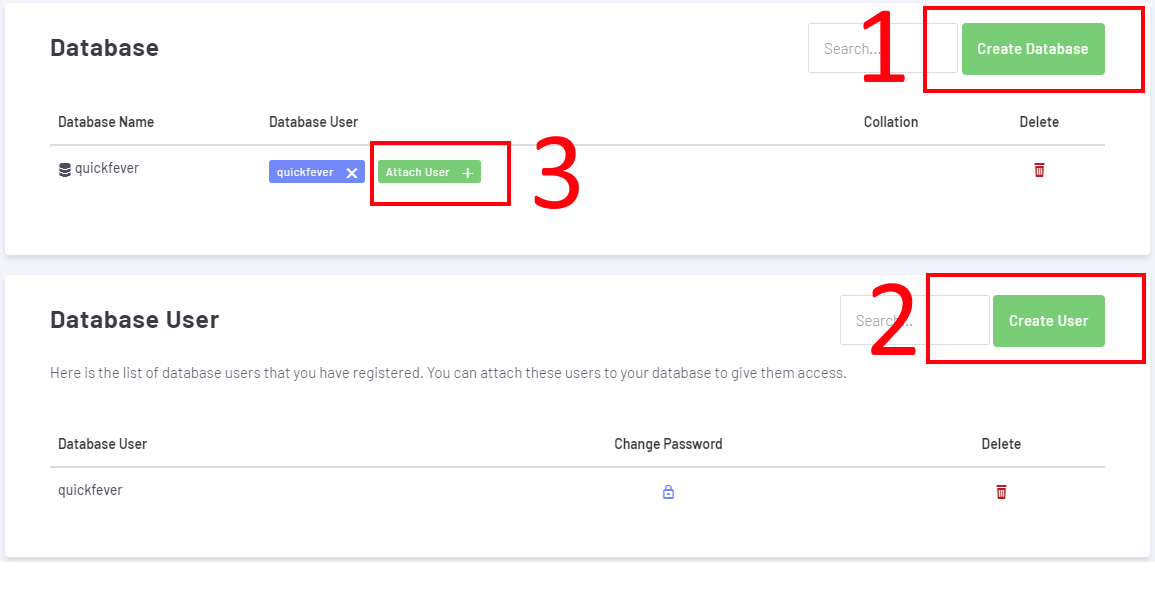
Step 5. Create Database and user:
SERVERS > Database.
- The first click on create database, choose a simple name.
- Now create a user, again choose a simple username but complete password.
- Attach that user to the database.
Finishing WordPress Setup
Visit your site using the IP address or Domain name. it will ask you of following things.
- Database name (Step 4)
- User (Step 4)
- Database Password (Step 4)
- 127.0.0.1 (localhost)
WordPress is now ready to use.
Wrapping it up
Since you used a service that is configured to run WordPress at its best, don’t worry about downtime or anything else.