Jan 2022: With Windows 10 version 20H2 and 2004, you no longer need 3rd party tool to add brightness slider functionality. Windows now got this covered and you can change your laptop screen brightness from Action center (Press Windows + A).
Desktop users who want to add brightness slider may proceed with the article. Both Monitorian and Twinkle Tray are recommended by us.
Tip: These tools work with Desktop Monitors to change Brightness.
Original story (July 2020):
When I was on Windows 8 or 8.1, changing brightness was more comfortable, all you had to load the charm bar and drag the slider up or down to manage brightness. In Windows 10, click the power icon, then clicking the brightness icon changes the brightness by the gap of 25%. This means you can set your screen brightness easily but only to 0, 25, 50, 75, and 100.
Windows 10 is doing good, and reportedly, it will take over Windows 7 (percentage users) by the end of the 2017 year. The fall creator update brings lots of new features and stability fixes, which you can get any time after 17 October.
What we are missing in Windows 10 is easy to access to brightness slider to change brightness whenever you need it quickly. This is necessary because, in the morning, you need mid brightness, in sunny day above-average brightness and evening or night, a lower brightness is required.
Update: Windows 10 version 2004 does have a slider for laptops.
1. Win10 Brightness slider
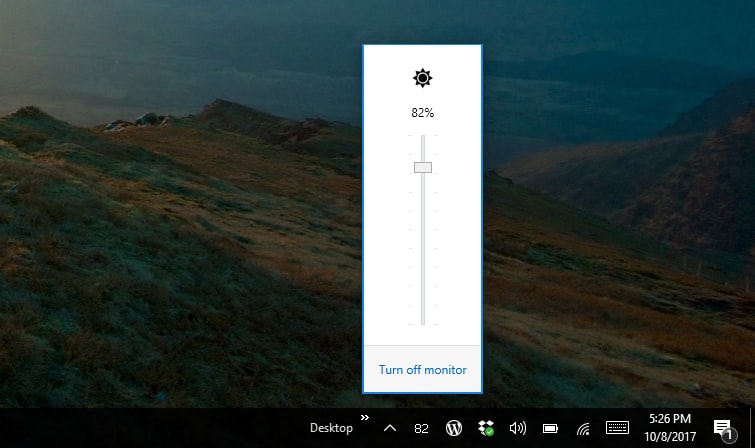
It’s a tiny software that will take little space in your taskbar in the form of a taskbar icon. Clicking on that will display a slider that you can use to easily and quickly change your screen brightness.
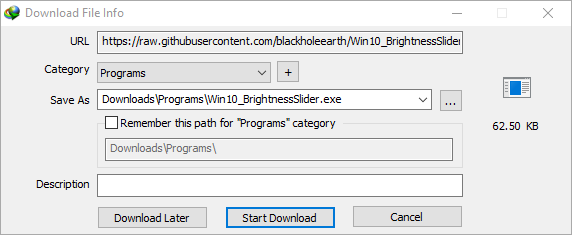
Hosted on GitHub, so you need to visit this page and get it from there. The size is almost negligible, and it doesn’t require installation on the host machine.
Simply open it, and it will take place in the taskbar area when you click on the “brightness icon” use the slider that appears to control the brightness of the laptop.

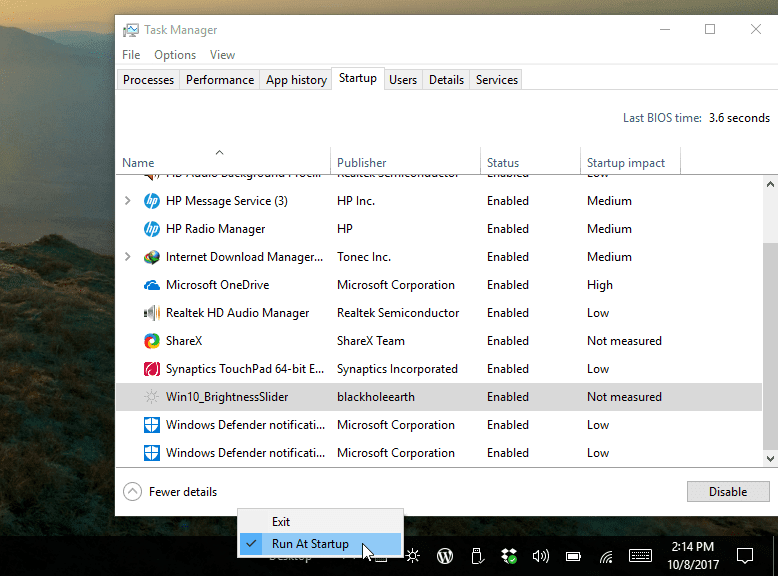
In case you find this little tool useful, you can automatically start it with your computer so you can access it anytime from the taskbar. To do that right-click on the tool’s icon and select Run at Startup to register it in the startup program, to ensure open task manager and look for Win10_brightnesSlider, if you can find you need to add it manually.
2. Brightness Tray
This is another tiny utility to change screen brightness using the slider it displays quickly. Just like the first tool we’ve mentioned, you can access the slider by clicking its icon from the taskbar. Fortunately, these kinds of tools don’t need to be installed on your computer, just open the machine after unzipping the archive file, and it will take place in the taskbar area.
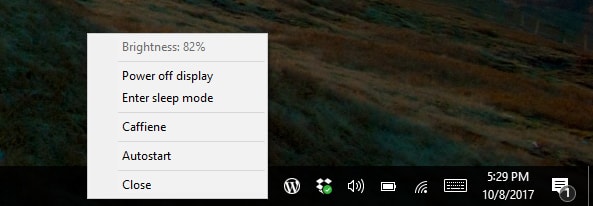
This tool has more options such as turning off the display by clicking the Power off display option which you can access by right-clicking the icon from the taskbar. You can also set it to launch with Windows startup so that conventionally you can change brightness anytime.
While Windows 10 only allows changing brightness by a quarter which means there is no in-between from 0 to 25 or 25 to 50. Arguably you can go to the action center, right-click on the brightness option and go to its settings, from there you can access the slider you can use to change screen brightness on your Windows 10 computer.
There is also another workaround where we’ve used F.lux software which reduces the blue light to reduce eye strain when working at night or dark places, but unlike changing brightness, you can use a hotkey ALT + Page Up and Down to dim the screen even darker than the default 0% brightness.
You can also use the Nightlight feature in Windows 10 to reduce eye strain, enable that by tapping the night light icon from the action center.


1 comment
I didn’t even know that you could change the brightness from the power icon haha. I always did it with the FN+Up arrow keys.