A basic and bulletproof guide for all MI, Redmi, and Xiaomi phones: Unlock bootloader, install custom recovery (TWRP / OrangeFox), flash MAGISK to gain root access, and install Custom ROMs to always taste the latest Android versions. We’ve had extensive hands-on experience with Xiaomi devices over the years and own many of them; here is everything you need to unlock, root, and flash custom ROMs on your Xiaomi device.
Works for: Xiaomi 12, 12 Pro, 12X, Mi 11 series, Redmi Note series, POCO phones, and other Xiaomi devices running MIUI and HyperOS.
What you’ll learn in this guide:
- Unlocking Xiaomi device bootloader using the official Mi Unlock tool
- Installing TWRP custom recovery on your phone
- Gaining systemless root access with Magisk
- Flashing LineageOS or other custom Android ROMs (with GApps)
Part 1: Unlocking Xiaomi Bootloader (Official Method)
Psst! This is no instant process, which means you’ll have to link your account and wait for Xiaomi’s authorization. Today, Xiaomi enforces a mandatory countdown (typically 168 hours / 7 days) before granting unlock permission to prevent unauthorized reselling and ensure device security.
Step 1: Get the Required Tools
- Download the official Mi Unlock tool to your computer. Don’t worry or hurry, I have been there, you can trust me on this. It takes a few days before your device’s bootloader gets unlocked, but once unlocked, you can flash any ROM, install Magisk modules, and customize everything.
- Install ADB and Fastboot drivers on your PC so your computer properly recognizes your Xiaomi device in Fastboot mode.
Step 2: Bind Your Mi Account to Your Phone
Important Data Warning: Unlocking the bootloader will completely wipe all user data and factory reset your phone. Make sure to back up all photos, contacts, and important files before proceeding.
- Open your phone, go to Settings > About phone, and tap MIUI version (or OS version) 7 times until you see the message “You are now a developer!”.
- Go to Settings > Additional settings > Developer options. Enable both OEM unlocking and USB debugging.
- In Developer options, tap Mi Unlock status.
- Turn OFF Wi-Fi and turn ON Mobile Data (SIM card): Tap “Add account and device”. You must use cellular data tied to your registered Mi Account number; doing this over Wi-Fi will fail with a network error.
- Once you see “Added successfully. Mi Account is associated with this device now,” power off your phone.
- Boot into Fastboot mode by pressing and holding Power + Volume Down simultaneously until the Fastboot logo appears.
- Connect your phone to your PC via a reliable USB data cable.
- Open the Mi Unlock Tool on your PC, sign in with the exact same Mi Account that is logged into your phone, and click Unlock.
- The tool will display a message such as: “Couldn’t unlock. Please unlock 168 hours later” (or 360 hours on some older accounts). This countdown is enforced by Xiaomi’s server.

Rule during the waiting period: Disconnect your phone and use it normally during the countdown. Do NOT log out of your Mi Account, do not factory reset, and do not repeatedly tap “Add account and device”, or your timer will reset to day one!
Step 3: Finalizing the Bootloader Unlock
Once the required waiting period (usually 168 hours / 7 days) has passed, you are ready to complete the unlock:
- Turn off your phone and boot into Fastboot mode (Power + Volume Down).
- Launch the Mi Unlock tool on your PC as administrator and ensure your PC is connected to the internet.
- Sign in with your Mi Account credentials.
- Connect your phone via USB. Once recognized, click the Unlock button.
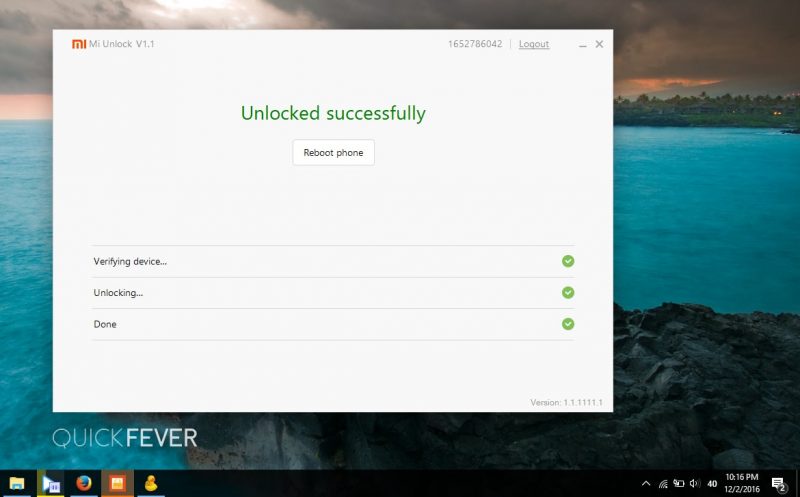
The unlock tool will verify the device and complete the process in seconds. Your phone will reboot, format its internal data partition, and start with an unlocked bootloader (indicated by an open padlock icon on the boot splash screen).
Personal Case I: We were able to unlock our phone’s bootloader on 2 December 2016 within 2 days.
Case II: Took 15 days when we unlocked our Mi 11X unit. On modern Xiaomi 12, 12 Pro, 12X, and newer devices, the standard wait is 168 hours.
Known Issues While Unlocking Bootloader
- Device not detected in Unlock Tool: Reinstall ADB & Fastboot drivers or try another USB port (preferably a rear USB 2.0 port rather than USB 3.0/hub).
- Error 501 / Network Error: Make sure your PC’s internet connection is active and stable.
- “Connect to the network and try again” error when adding account: Disable Wi-Fi and perform the account binding using mobile data on SIM 1.
- “Information on device doesn’t match” error: Ensure your phone is signed into Mi Cloud with “Find Device” enabled, wait 24 to 48 hours, and try again.
Part 2: How to Root Xiaomi (Using TWRP and Magisk)
Once you have an unlocked bootloader, you can gain root privileges. While older tutorials relied on legacy tools like SuperSU, modern Android devices use Magisk-the universal systemless root solution that allows you to run root apps, install Magisk modules, and bypass SafetyNet / Play Integrity checks.
Step 1: Install Custom Recovery (TWRP / OrangeFox)
To flash third-party zip packages and custom ROMs, you need a custom recovery like TWRP or OrangeFox.
- Download the matching TWRP recovery image for your exact phone model from the official TWRP devices page or trusted device forums on XDA.
- Rename the downloaded file to
twrp.imgfor convenience. - Move
twrp.imginto your extracted ADB & Fastboot folder.
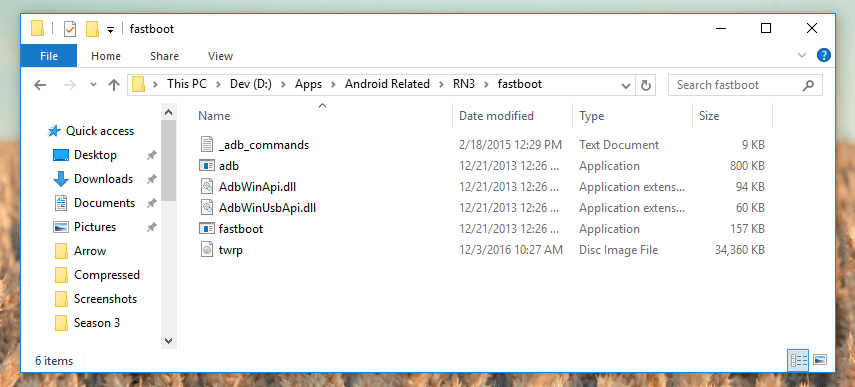
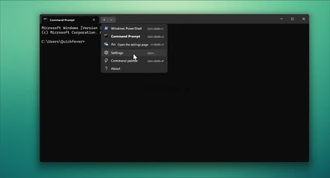
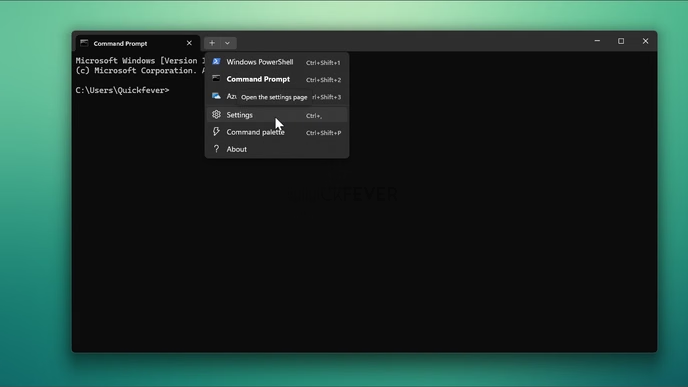
- Open Command Prompt inside your ADB folder (type
cmdin the File Explorer address bar and press Enter).
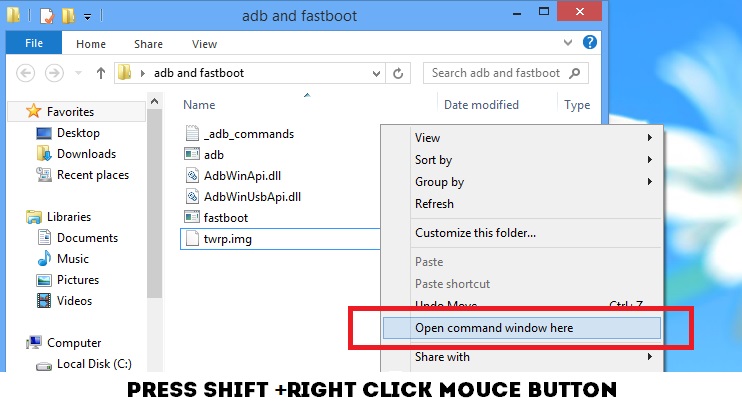
Boot your phone into Fastboot mode (Power + Volume Down) and connect it via USB. Run the following command to verify connection:
fastboot devicesIf your device serial number appears, flash the recovery image:
fastboot flash recovery twrp.img(Note: On modern A/B partition devices like the Xiaomi 12 series, you can also temporarily boot into TWRP using fastboot boot twrp.img and install recovery permanently from inside TWRP’s Advanced menu).
To reboot straight into recovery, run:
fastboot reboot recoveryOr hold Power + Volume Up until the TWRP splash screen appears.
Step 2: Flash Magisk to Root Your Device
- Download the latest Magisk APK from the official Magisk GitHub repository.
- Rename the file extension from
.apkto.zip(for example:Magisk-v27.0.zip). - Transfer the zip file to your phone’s internal storage or an OTG flash drive.
- In TWRP recovery, tap Install, locate and select the
Magisk-vXX.X.zipfile, and swipe the slider to flash. - Once finished, tap Reboot System.
When your phone reboots, open the Magisk app from your app drawer. It will prompt you to complete the additional setup. Once done, your Xiaomi device is fully rooted!
Part 3: Flashing a Custom ROM (LineageOS, PixelOS, etc.)
With an unlocked bootloader and custom recovery installed, you can replace MIUI/HyperOS with pure AOSP-based custom ROMs like LineageOS, PixelOS, or crDroid to experience stock Android without bloatware.
What You Need:
- Custom ROM ZIP: Download the official LineageOS or preferred custom ROM build tailored specifically for your device codename (e.g., cupid for Xiaomi 12, psyche for Xiaomi 12X, zeus for Xiaomi 12 Pro).
- Google Apps (GApps): Modern Android 12, 13, and 14 custom ROMs recommend MindTheGapps or NikGapps (OpenGApps is legacy and largely restricted to older Android builds). Some ROMs come with GApps pre-included.
- Vendor Firmware (Optional/Recommended): Some custom ROMs require flashing the latest base Xiaomi firmware for your region (e.g., Global or India) before flashing the ROM.
Step-by-Step ROM Installation Guide
- Copy your Custom ROM zip and GApps zip to your phone’s internal storage, MicroSD card, or a USB OTG drive.
- Boot into TWRP recovery (Power + Volume Up).
- Perform a Backup: Tap Backup and take a full NANDroid backup of your current system so you can restore anytime.
- Format Data (Crucial for encryption): Go to Wipe > Format Data, type
yes, and confirm. This decrypts storage and prevents bootloops when switching ROMs. - Go to Wipe > Advanced Wipe and wipe Dalvik / ART Cache and Cache.
- Tap Install, select the Custom ROM zip, tap “Add more Zips”, select the GApps zip, and swipe to flash.
- Once flashing completes, tap Reboot System.
The first boot usually takes 3 to 5 minutes. Once loaded, complete the initial Android setup, sign into your Google account, configure fingerprint recognition, and enjoy a clean, fast custom ROM experience!
Issue: TWRP Asks for a Password to Decrypt Data
Modern Android versions enforce storage encryption by default. If TWRP prompts you for a password upon entry, you can dismiss it, go to Wipe > Format Data, type yes, and press Enter. This wipes internal storage encryption cleanly and allows you to flash ROM zips without errors.
I’ve tried to cover everything in this guide. If you feel I missed something or want to suggest an improvement, head to the comment section. I’m listening. That wraps up our guide to root and unlock Xiaomi devices. Go ahead, break some eggs!